
In this tutorial we set up a brand-new studio together. We follow Soni Starr, a guitar teacher who is just starting out. Soni has three students and wants to see them all on one timetable.
By the end, you will have a lesson price, three students and a week of weekly lessons. Your dashboard will show your next lessons, and your timetable will show the full week. It takes about fifteen minutes.
You need a Soniq Studio account. If you do not have one yet, select Sign up - Free on the Soniq Studio home page and create your account.
Step 1: Say hello
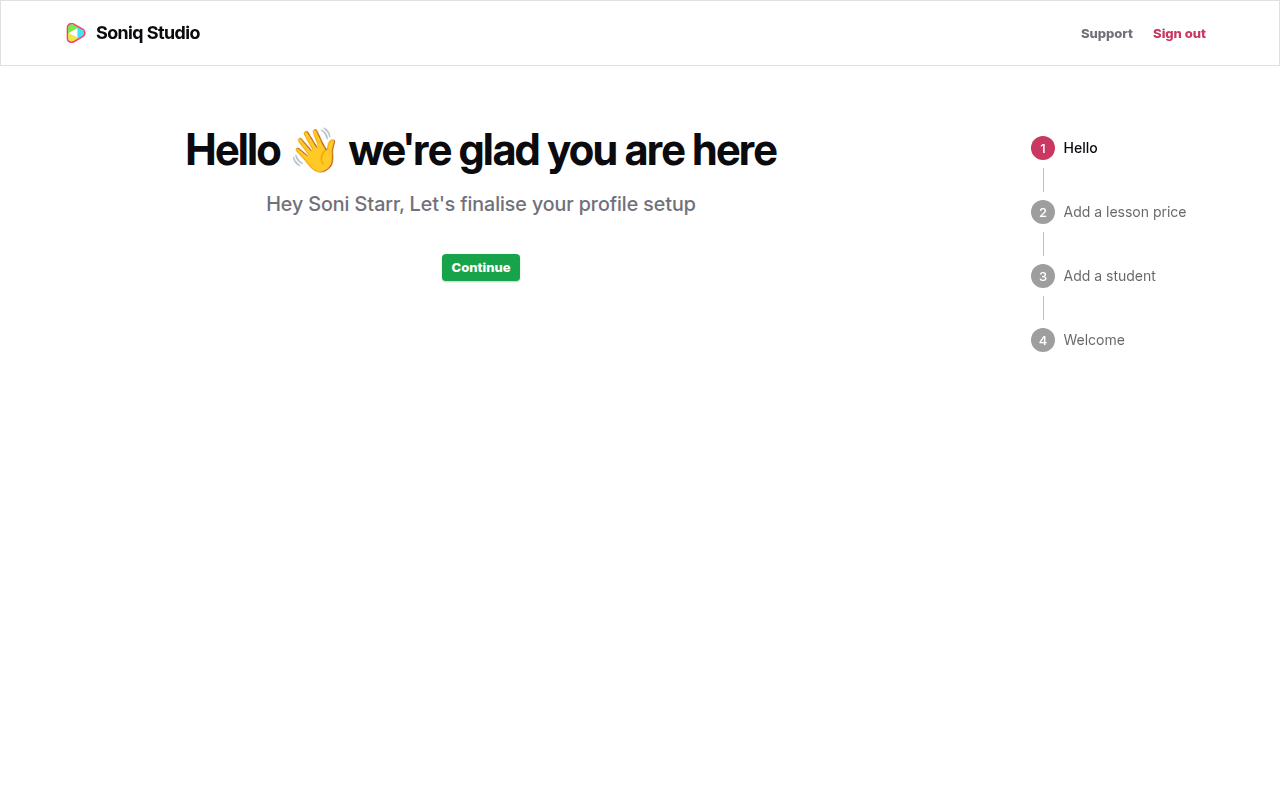
After you sign up, Soniq Studio opens a short welcome workflow. The steps are listed on the right: Hello, Add a lesson price, Add a student and Welcome.
Select Continue to finish setting up your profile.
Step 2: Add your first lesson price
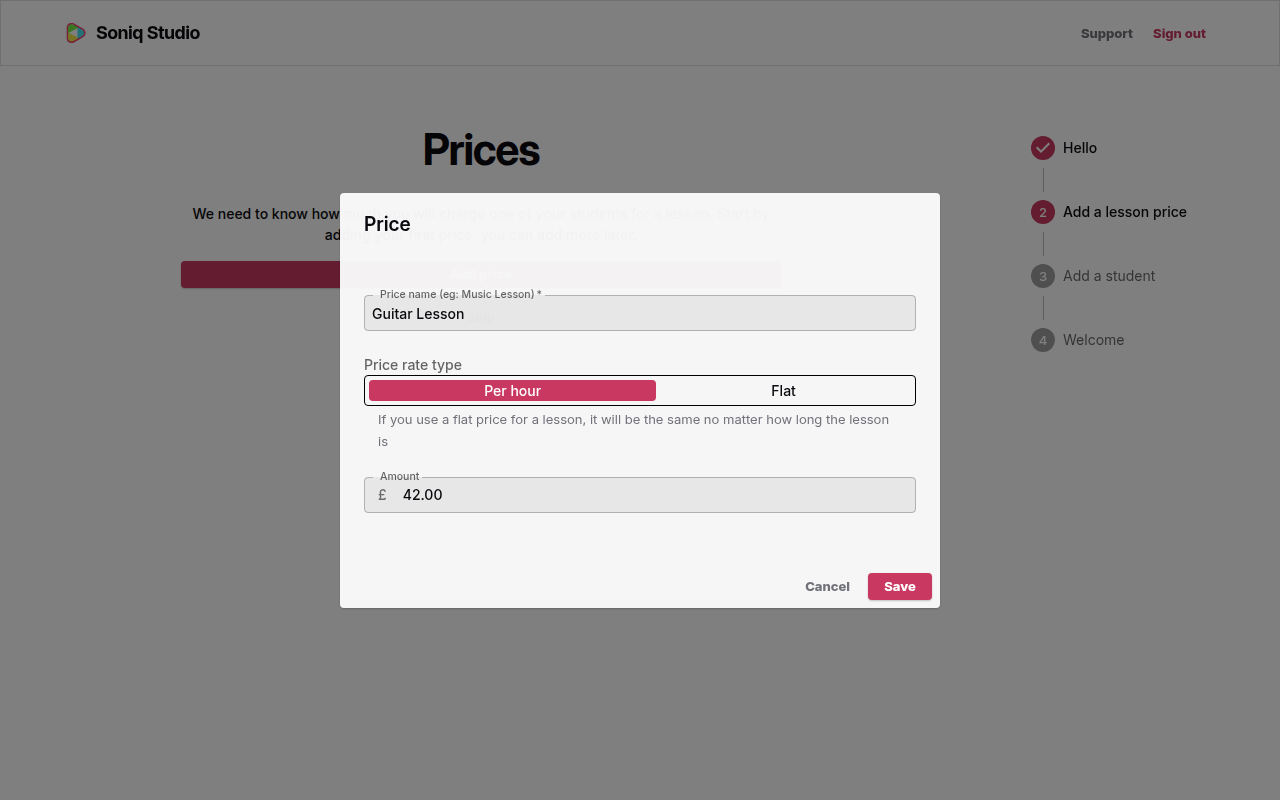
Soniq Studio now asks how much you charge for a lesson. Select Add price.
- Enter a name in Price name. Soni enters “Guitar Lesson”.
- Leave Price rate type on Per hour.
- Enter the hourly rate in Amount. Soni enters 42.00.
- Select Save.
Soniq Studio says “Congratulations, you have added a price.” Select Continue.
Step 3: Add your first student
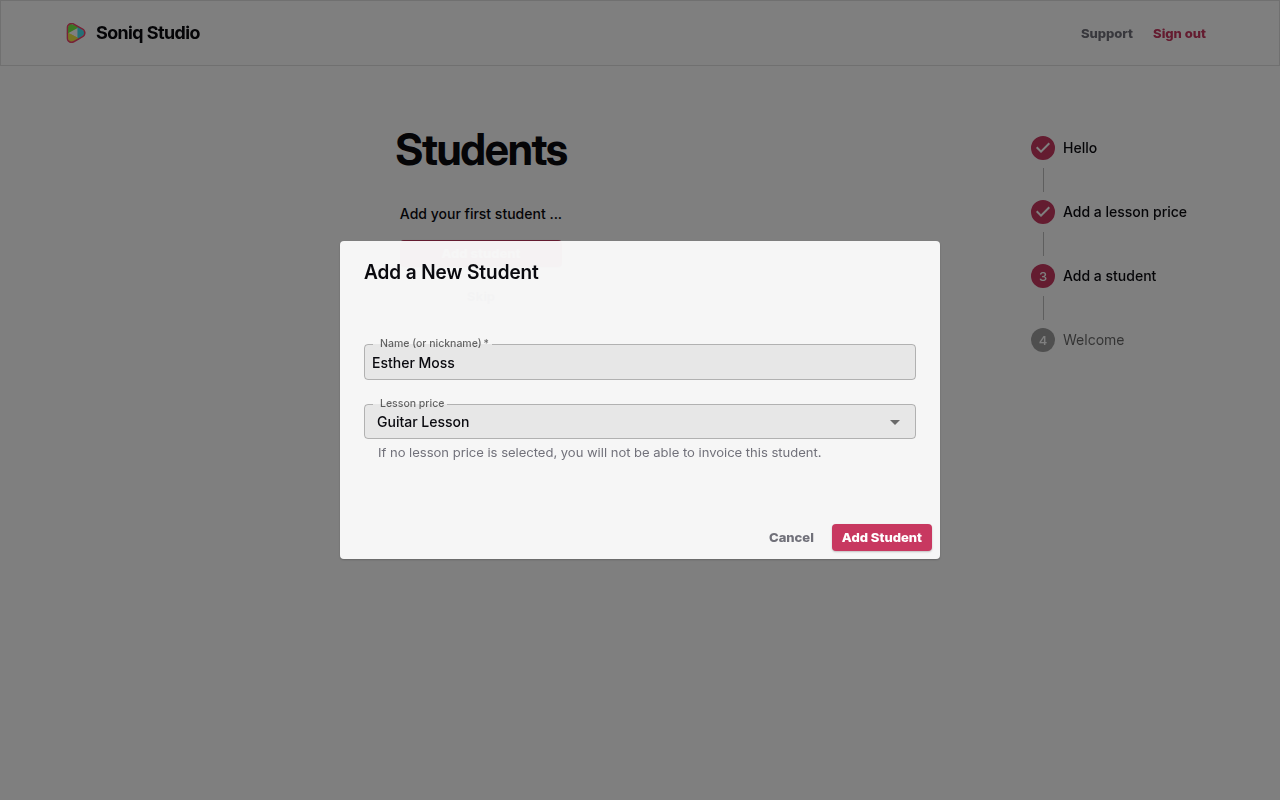
Now we add a student. Select Add student.
- Enter the student’s name in Name (or nickname). Soni enters “Esther Moss”.
- Check that Lesson price shows the price you just made.
- Select Add Student.
Soniq Studio says “Congratulations, you have added a student.” Select Continue.
Step 4: Go to your dashboard
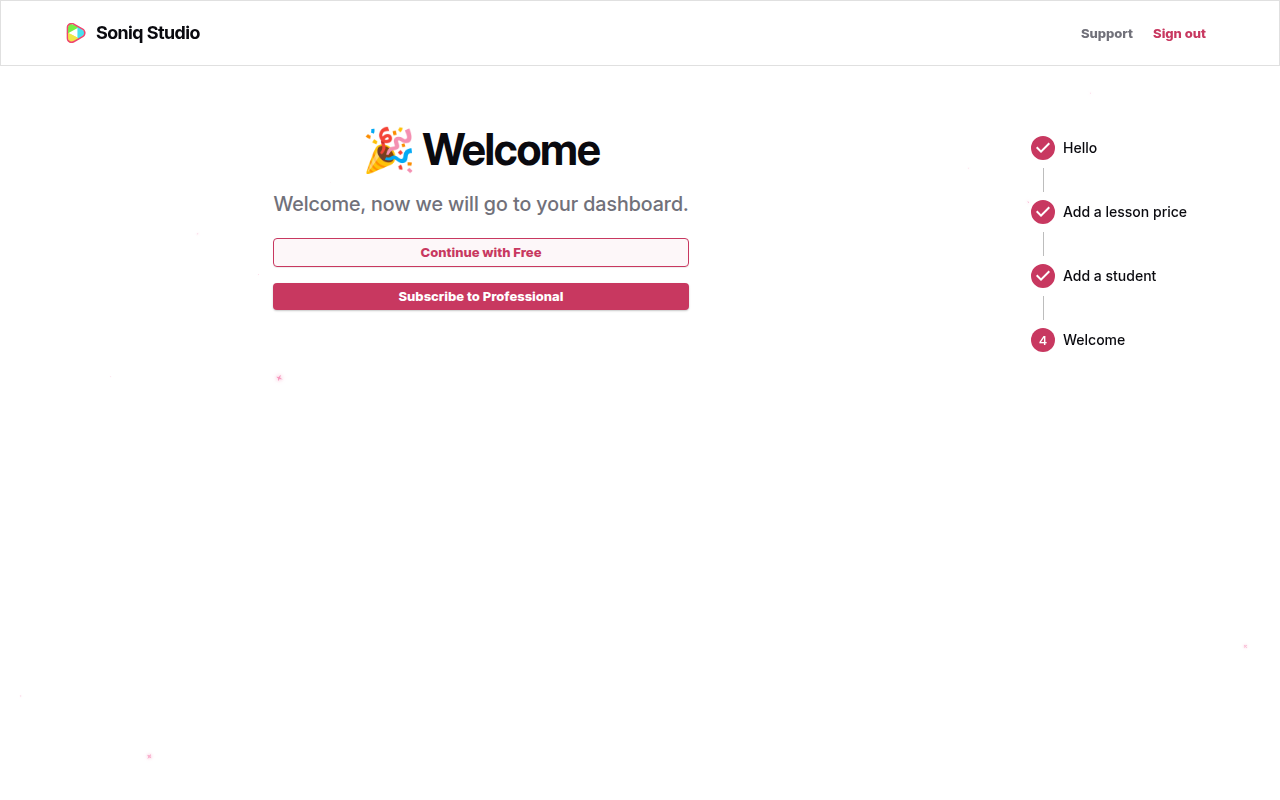
The last step says Welcome. Select Continue with Free.
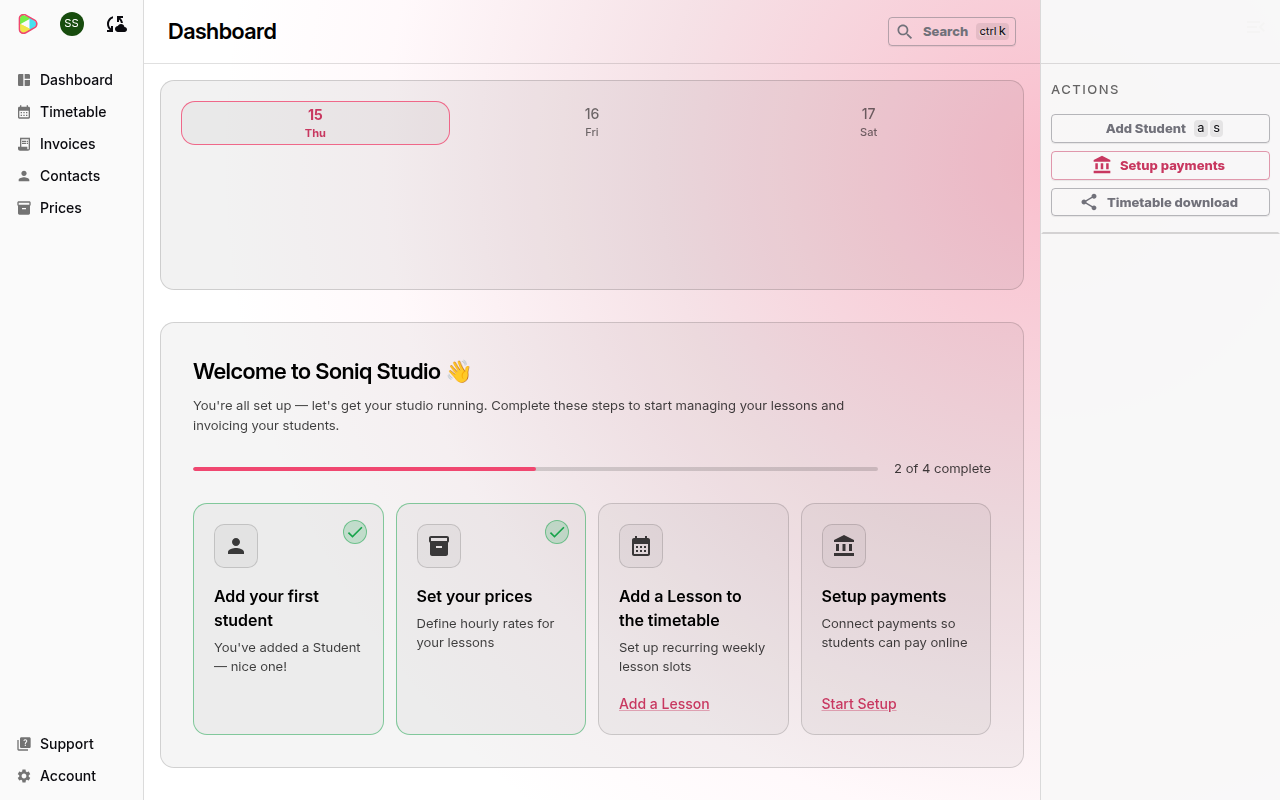
Your dashboard opens. The Welcome to Soniq Studio checklist shows your progress. Two of the four steps already have a green tick.
Step 5: Add your other students
Soni teaches two more students, Rafi and Lily. We add them now, so the timetable has a full week.
- Select Add Student in the Actions panel on the right.
- Enter the student’s name in Name (or nickname).
- Select Add Student.
Soni adds “Rafi Okafor” and then “Lily Hart”. Each student appears in the Students list on the dashboard.
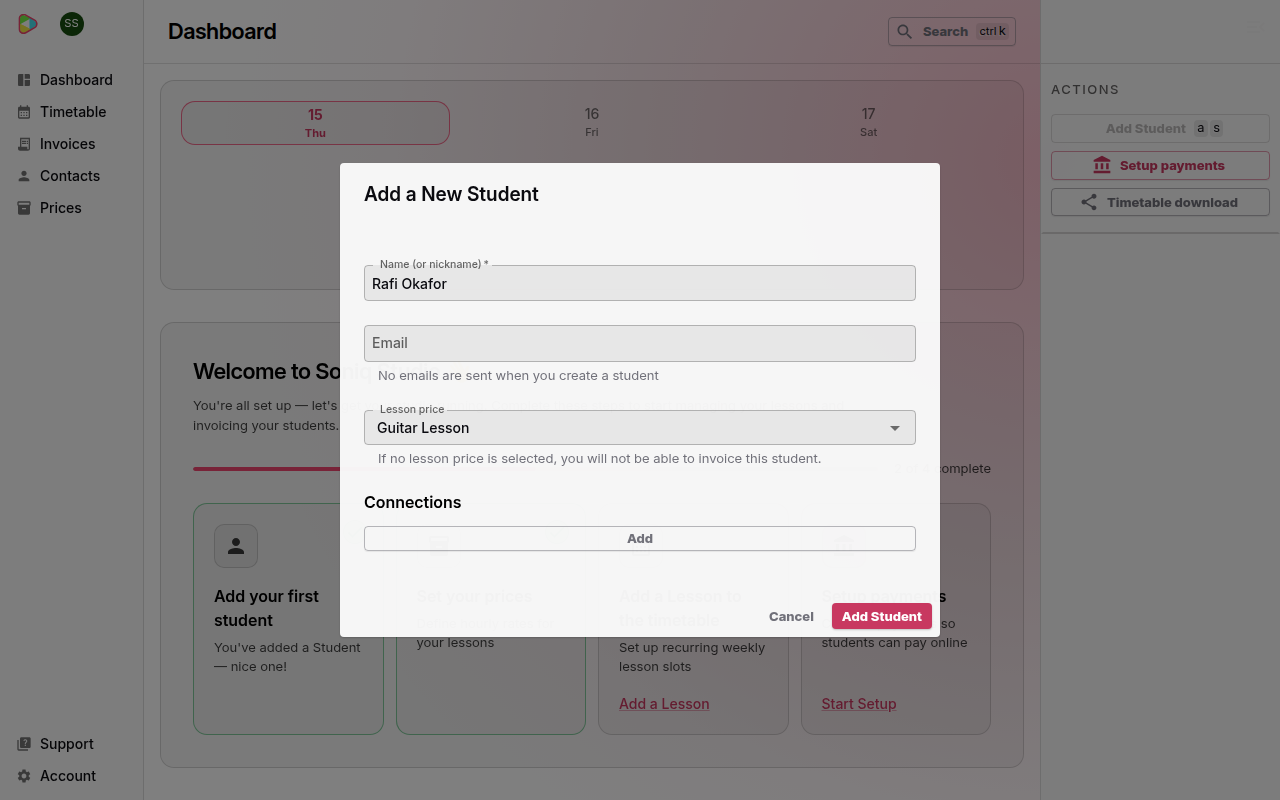
Leave Email and Connections empty for now. To link a parent later, see How to add a student and link a parent or guardian.
Step 6: Add your logo
Your logo appears on your invoices and on your public profile page. Soni adds it now.
- Select Account at the bottom of the sidebar.
- In Profile Logo, select Upload.
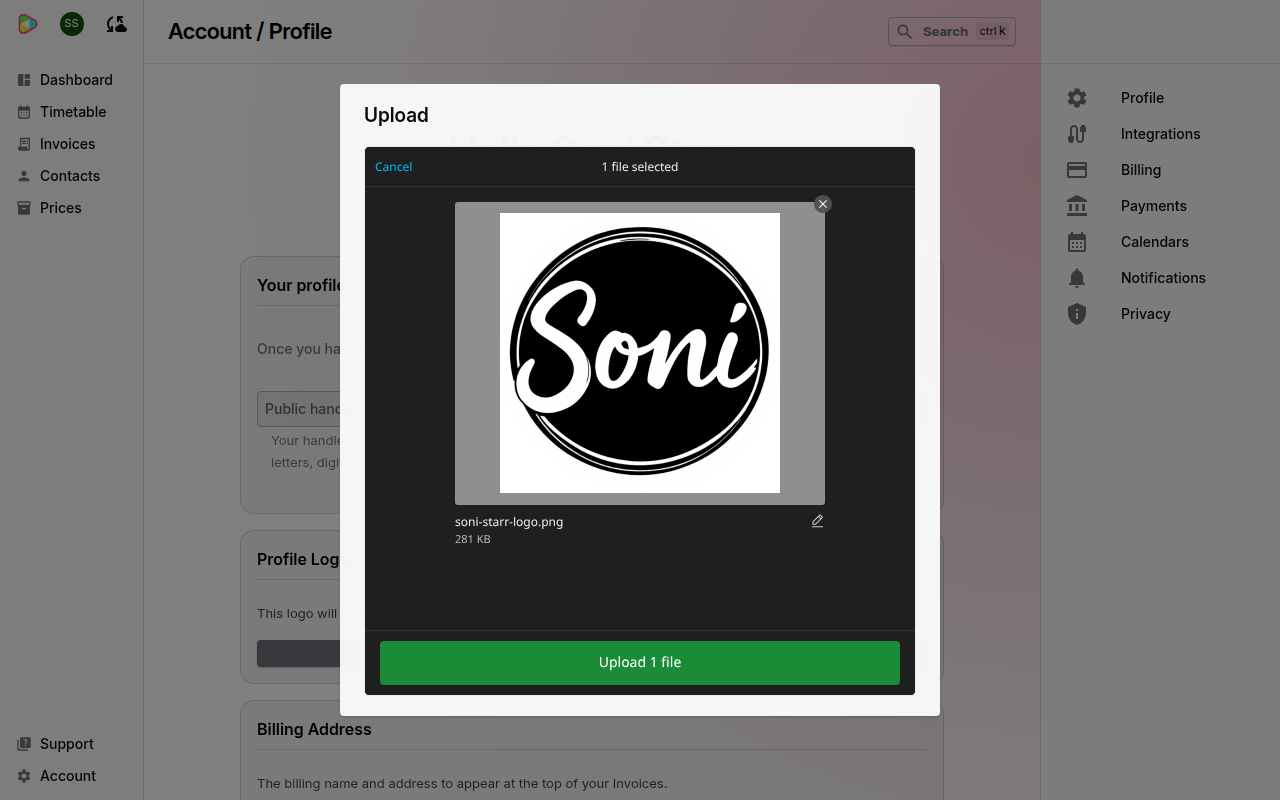
- Select browse files and choose your logo image.
- Select Upload 1 file.
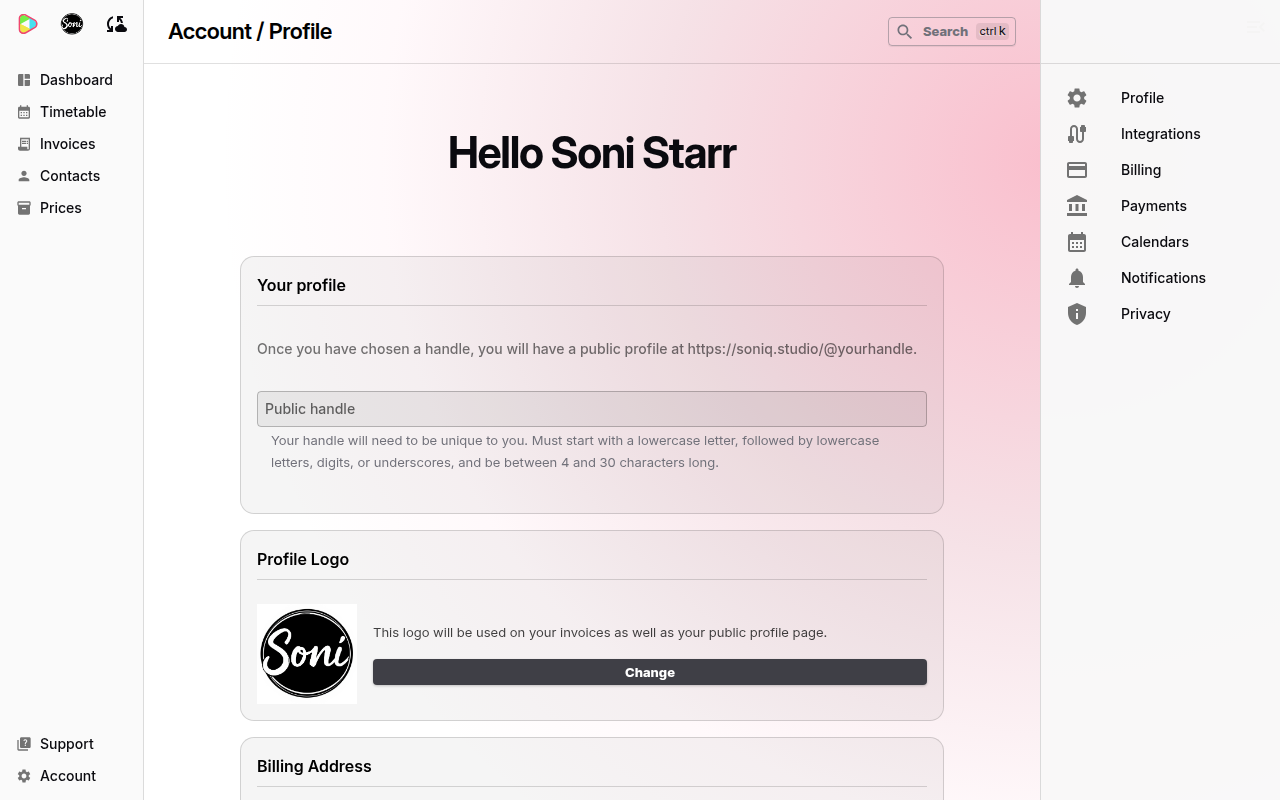
The logo now shows in Profile Logo, and next to your initials at the top of the sidebar.
Step 7: Open your timetable
Select Timetable in the sidebar. The first time you open it, a welcome message explains how to add lessons. Select Get started.
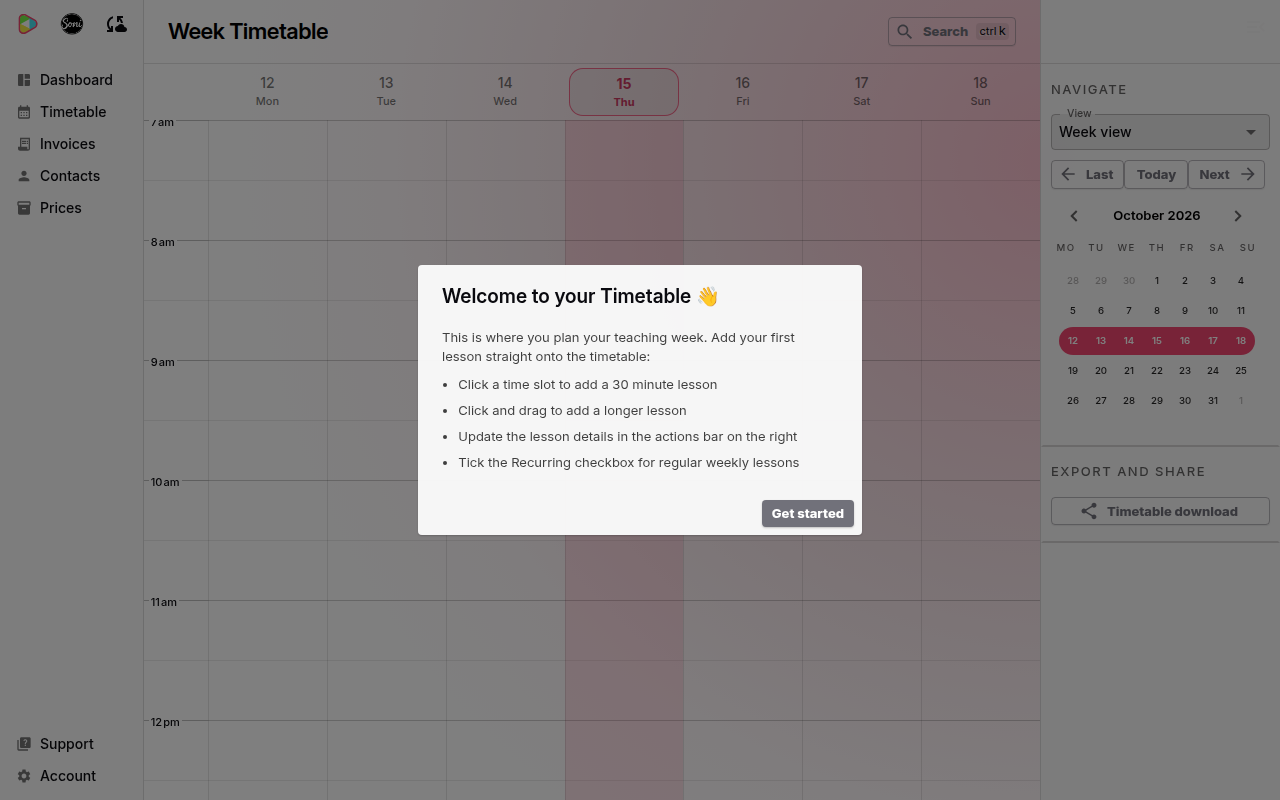
The timetable shows one week. Use Last, Today and Next in the Navigate panel to move between weeks.
Step 8: Add Esther’s weekly lesson
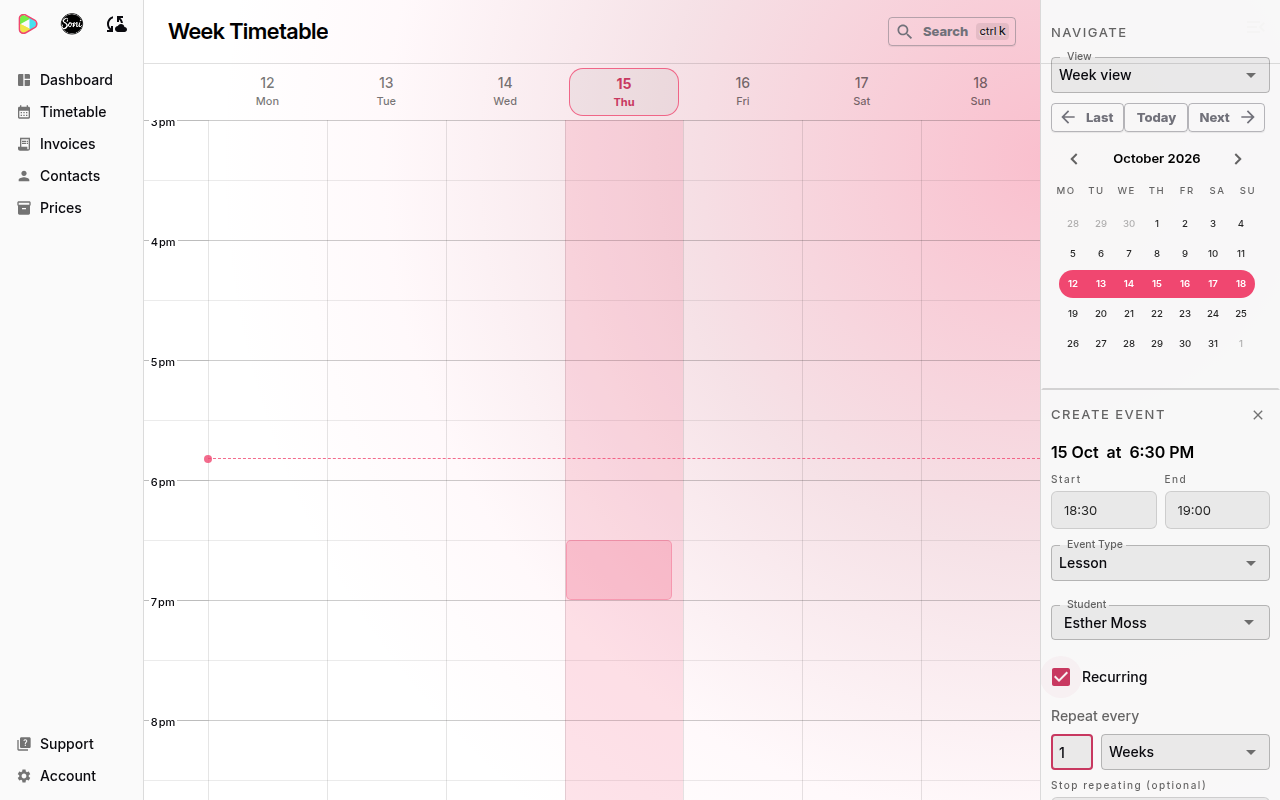
Esther has a lesson every Thursday at 6:30pm. We add it as a weekly lesson.
- Scroll the timetable to 6:30pm on Thursday.
- Select the empty time slot. A 30 minute lesson appears, and the Create Event panel opens on the right.
- Check that Event Type shows Lesson.
- Choose Esther in Student.
- Tick Recurring.
- Enter 1 in Repeat every. The box next to it shows Weeks.
- Leave Stop repeating (optional) empty. The lesson repeats until you change it.
- Select Save.
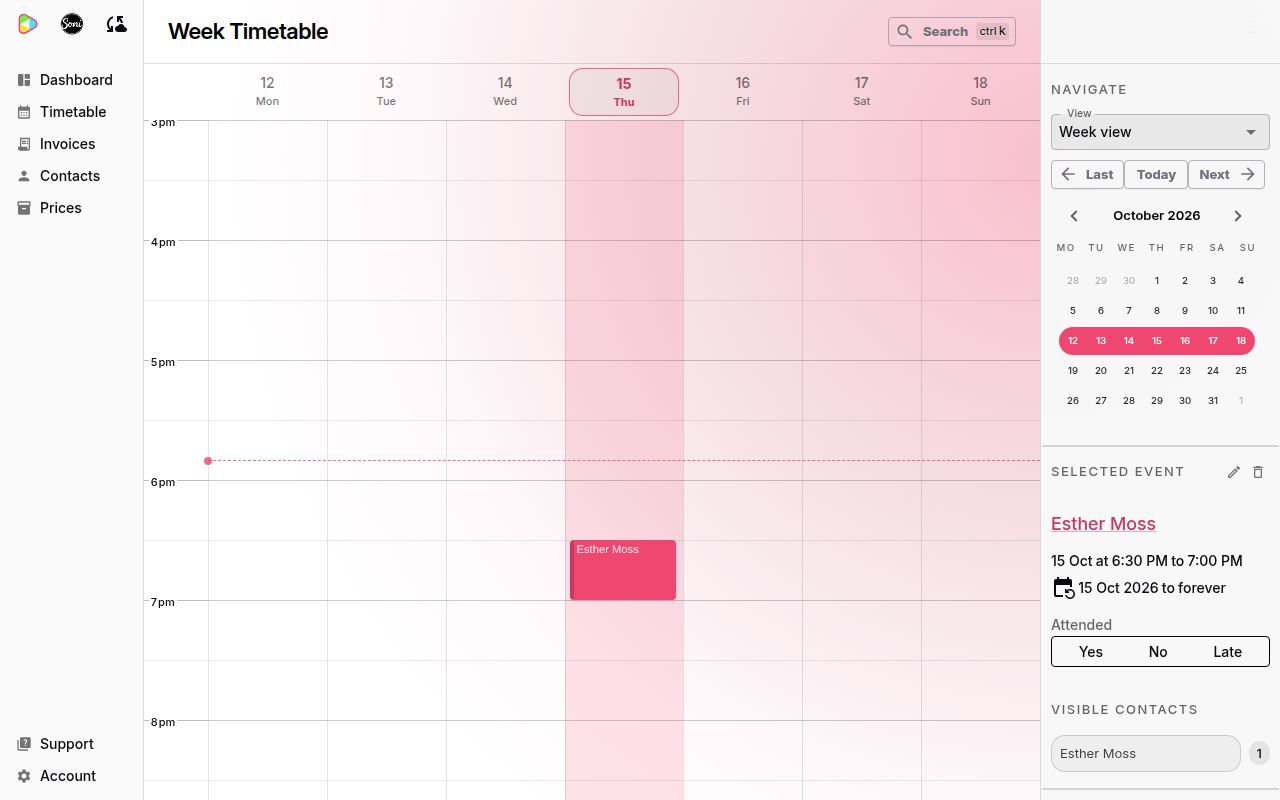
The lesson appears on the timetable. The Selected Event panel shows the time and the repeat, “to forever”.
Step 9: Add the rest of the week
Now we add Rafi and Lily the same way.
- Rafi has a one hour lesson on Fridays at 4pm. Select the 4pm slot and drag down to 5pm.
- Lily has a 30 minute lesson on Saturdays at 10am. Select the 10am slot.
For each lesson, choose the student, tick Recurring, enter 1 in Repeat every and select Save.
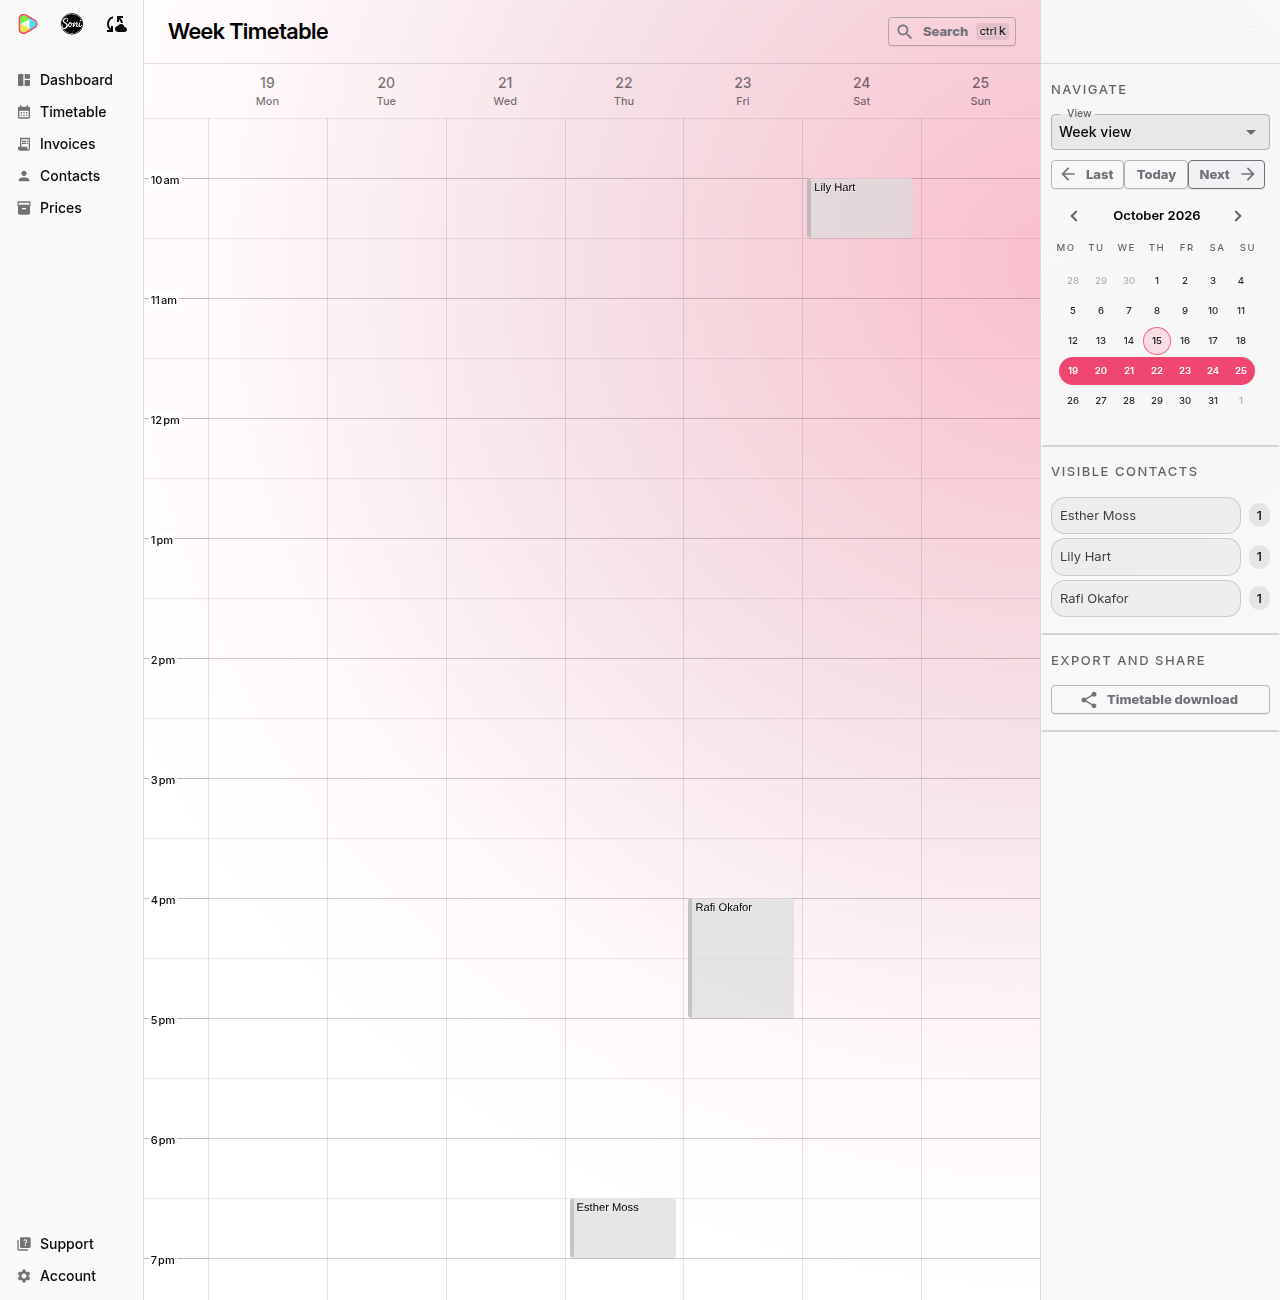
Select Next in the Navigate panel to see the coming week. All three lessons are there, and they repeat every week.
Step 10: See your week on the dashboard
Select Dashboard in the sidebar. Your next lessons appear at the top, day by day. The checklist now shows 3 of 4 complete.
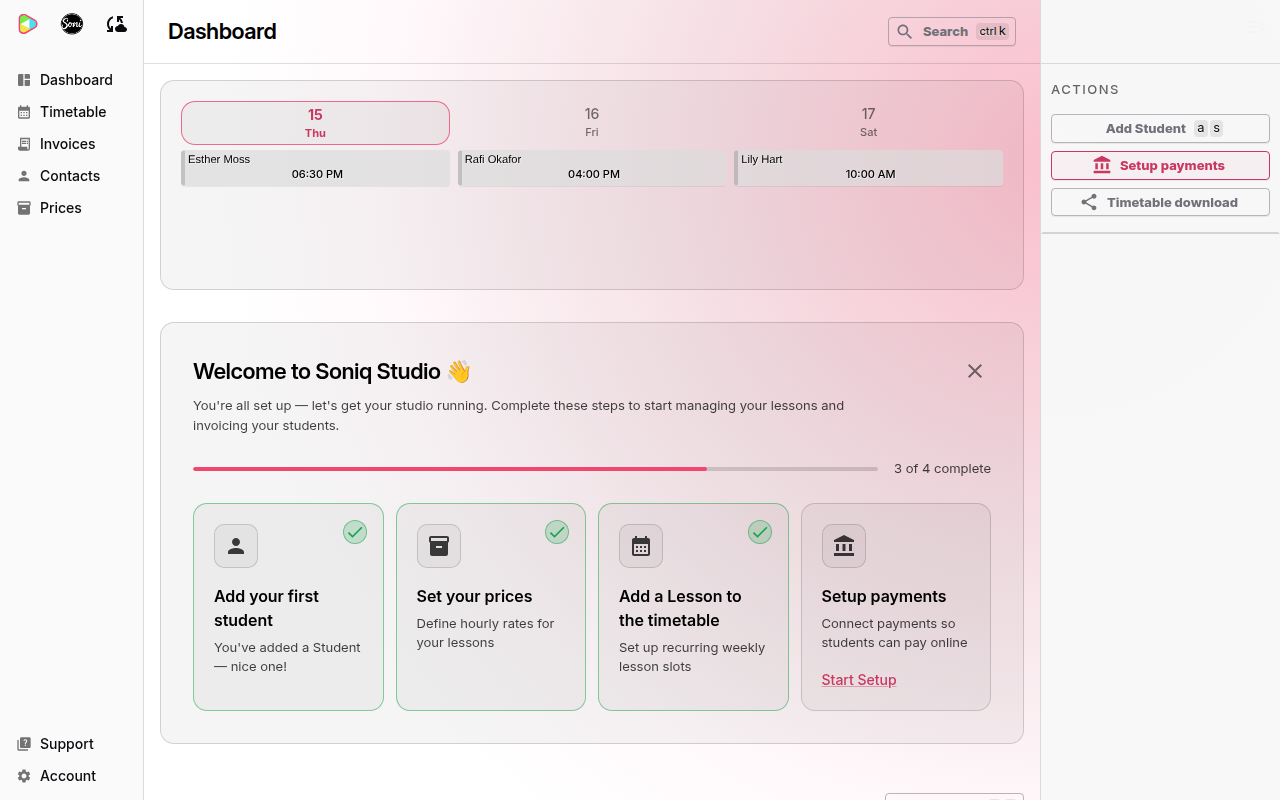
Well done. Your studio is set up, and your teaching week is on your timetable.
What next
- The last checklist step is Setup payments. Follow Get paid to send your first invoice and collect the money.
- To move or cancel a lesson, see How to add, move, or cancel a single lesson.
- To compare the free plan and Professional, see Subscription plans and fees.
- To learn why changing one lesson leaves the rest of the week alone, read Why timetables are forgiving.