Soni Starr’s timetable is set up. Lessons happen every week, and now it is time to be paid for them. In this tutorial we follow Soni from a timetable to the first payment collected from a student.
By the end, you will have:
- a public profile, a logo and a billing address for your invoices,
- a GoCardless account connected to Soniq Studio,
- your first invoice sent to a student,
- a payment on its way to your bank account.
Before you start, finish Set up your studio. You need a price, a student with an email address and at least one lesson on your timetable.
Step 1: Start the payment setup
We start from the Invoices page.
- Select Invoices in the sidebar.
- Select Setup payments in the Actions panel.
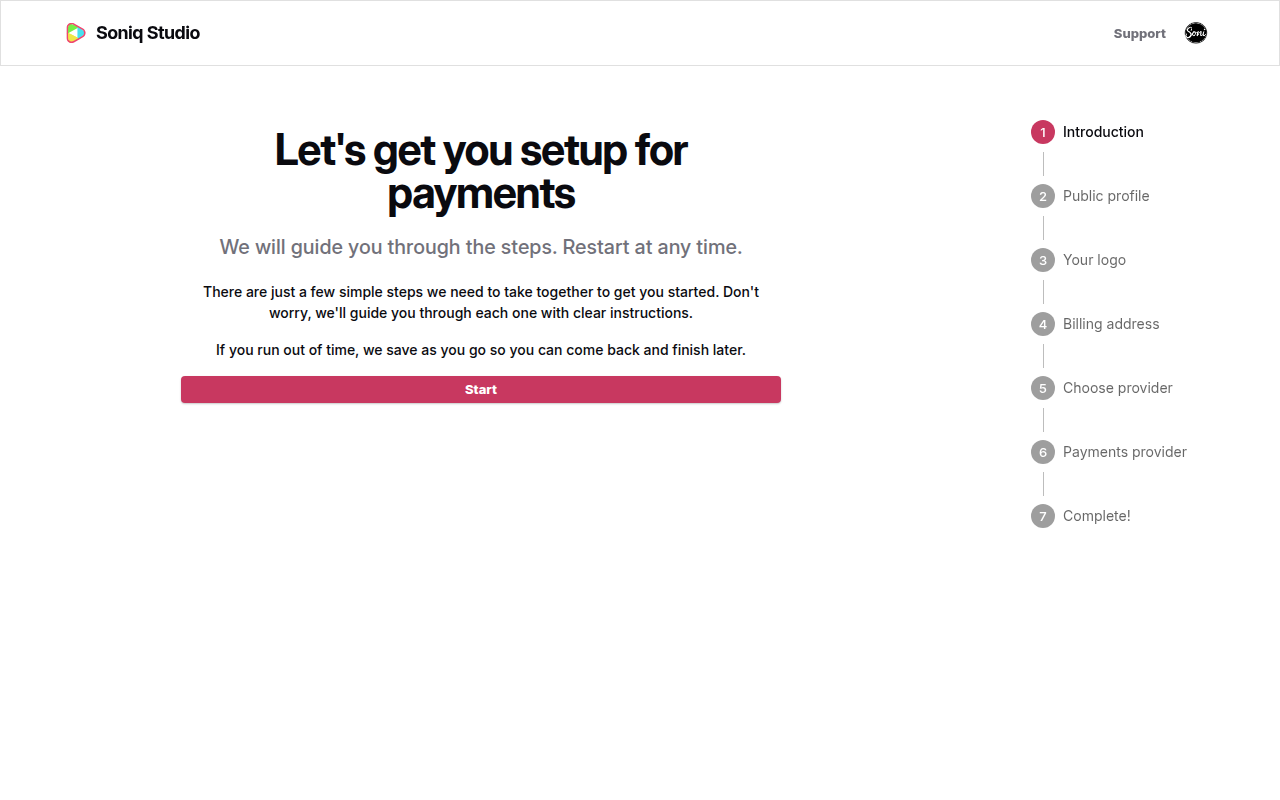
The payment setup opens. It has seven short steps, listed on the right. Soniq Studio saves each step as you go.
- Select Start.
Step 2: Choose your public handle
Your public profile is a page about you at soniq.studio/@yourhandle. Your invoices link to it, and GoCardless asks for it when you sign up.
- Enter a Public handle. Soni enters
sonistarr_guitar. - Select Save.
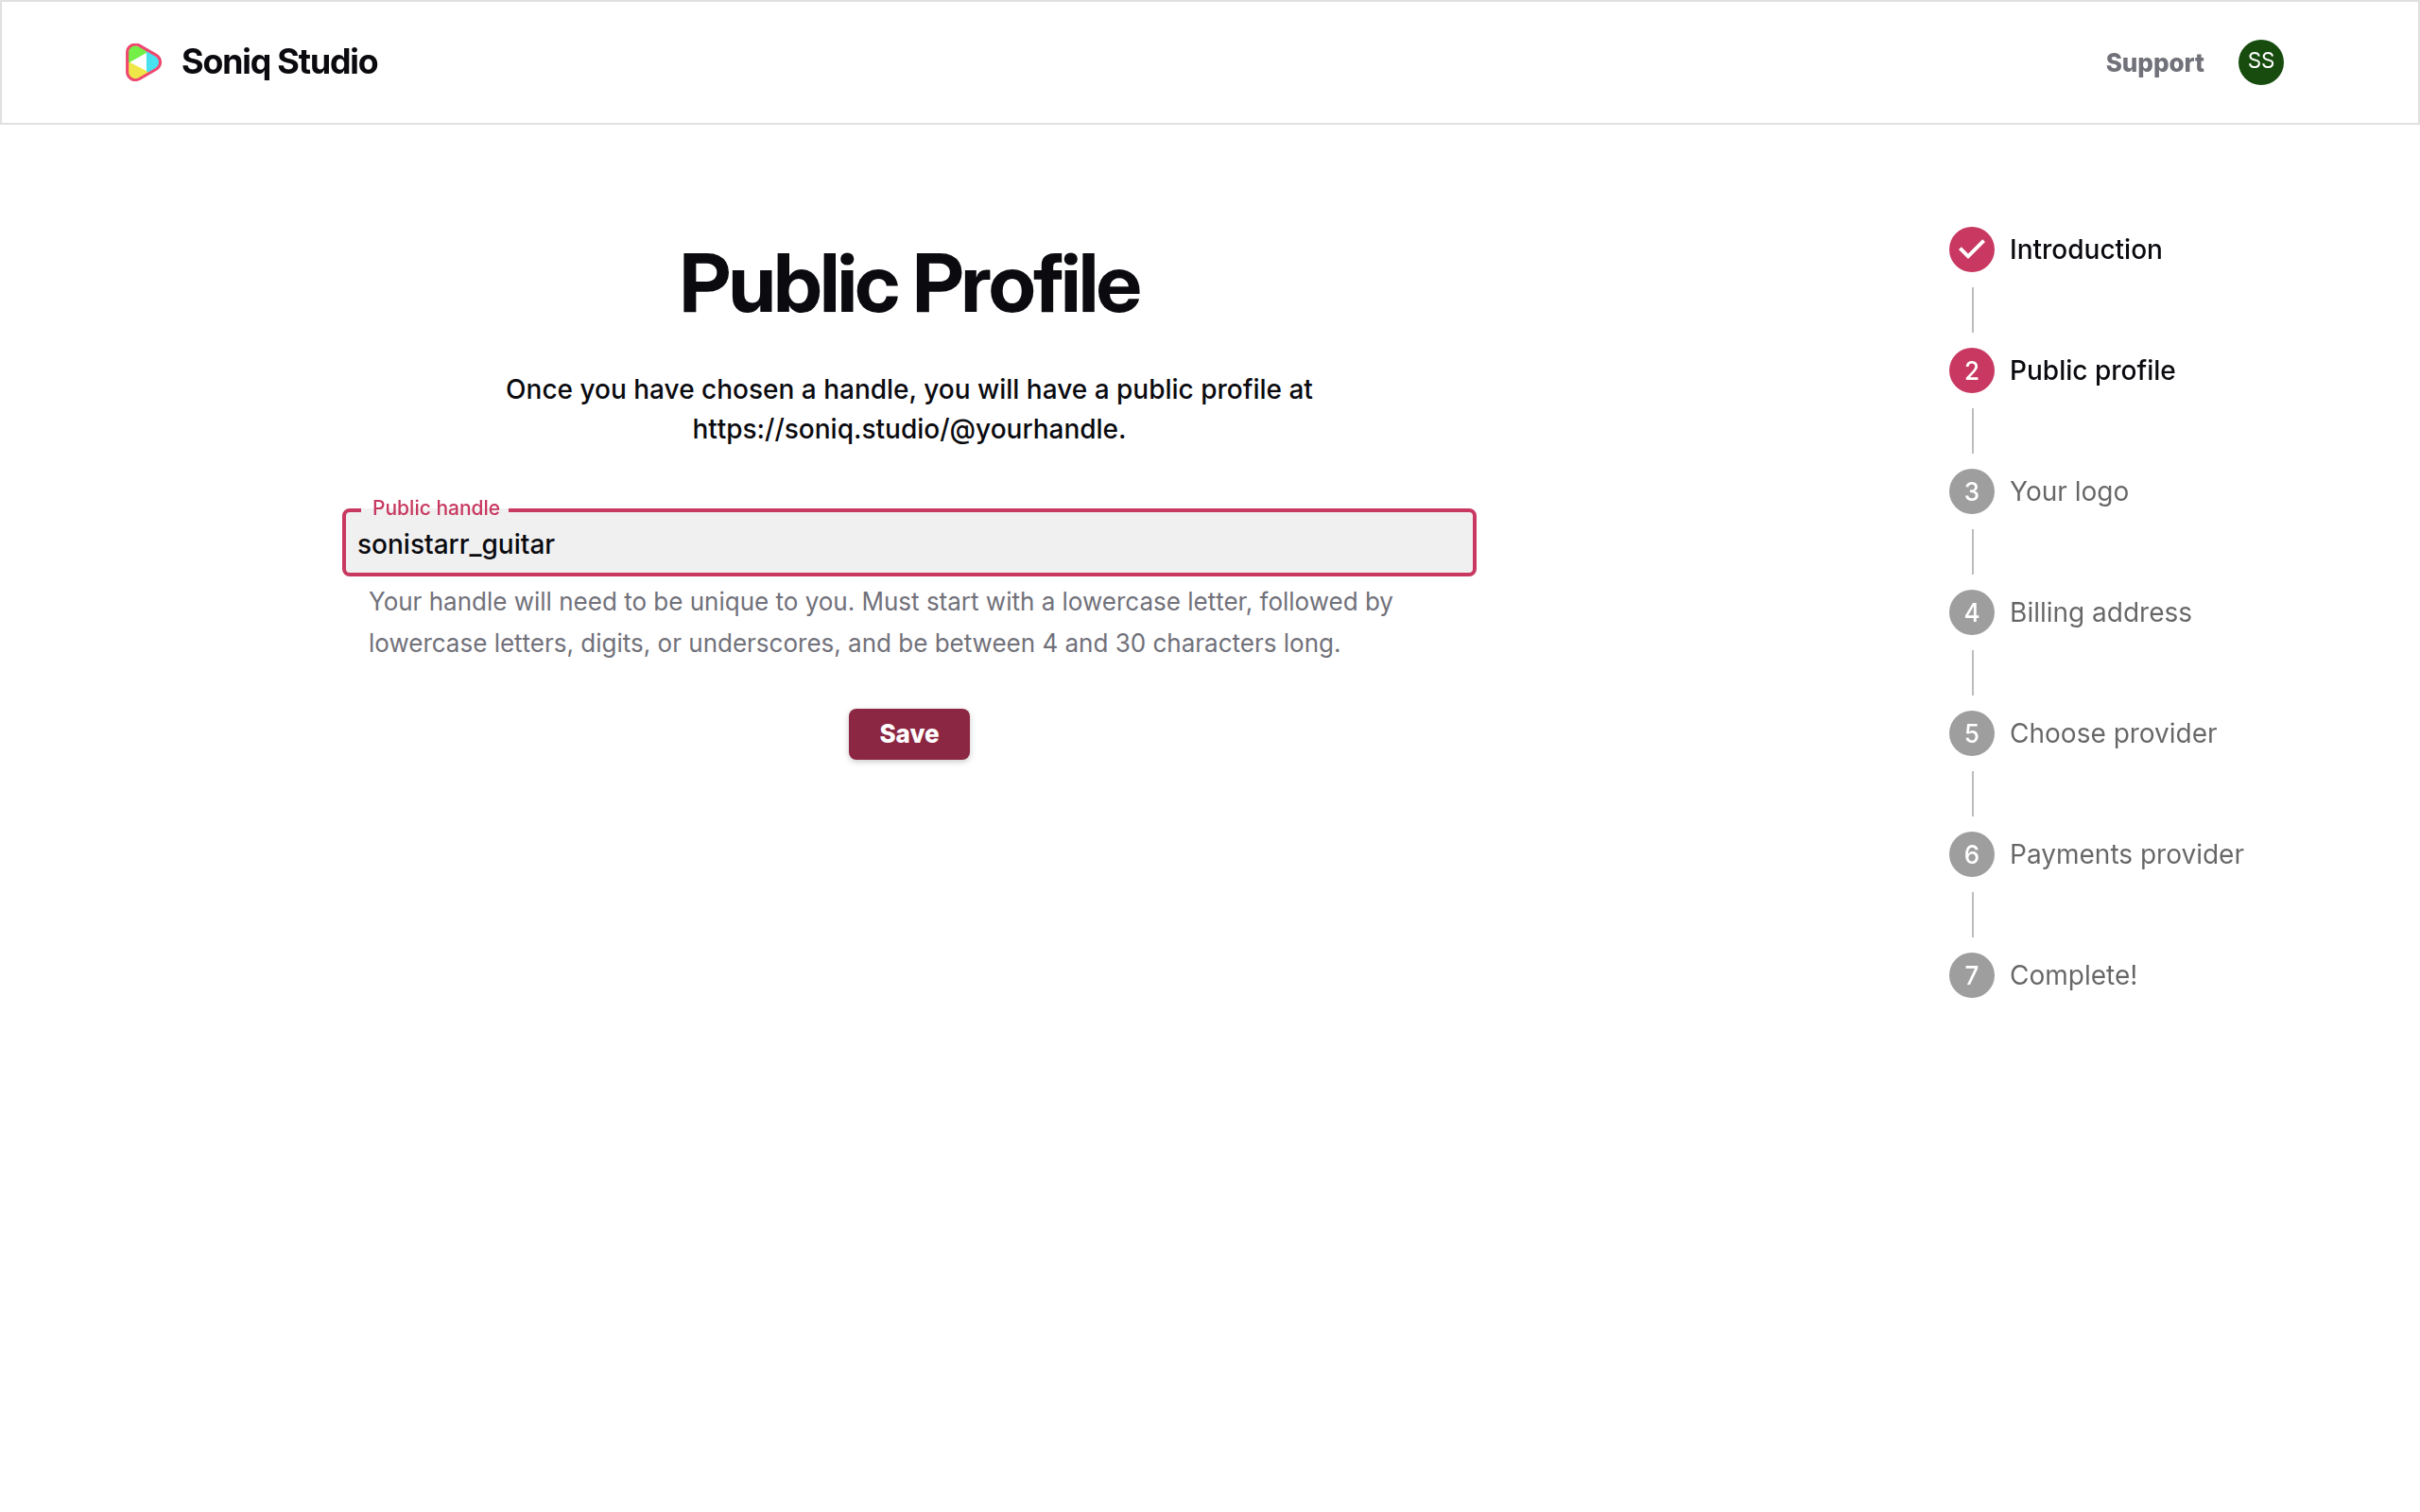
The handle must be unique. It starts with a lowercase letter and uses only lowercase letters, numbers and underscores.
- Enter a short bio in About you. Soni writes one line about their teaching.
- Select Save.
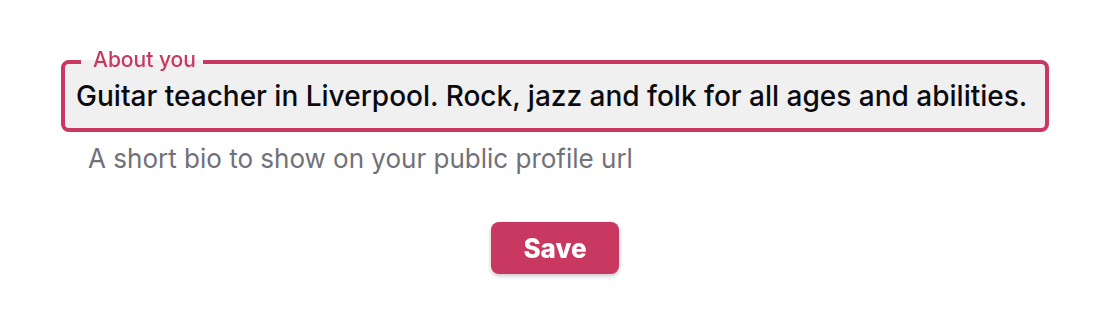
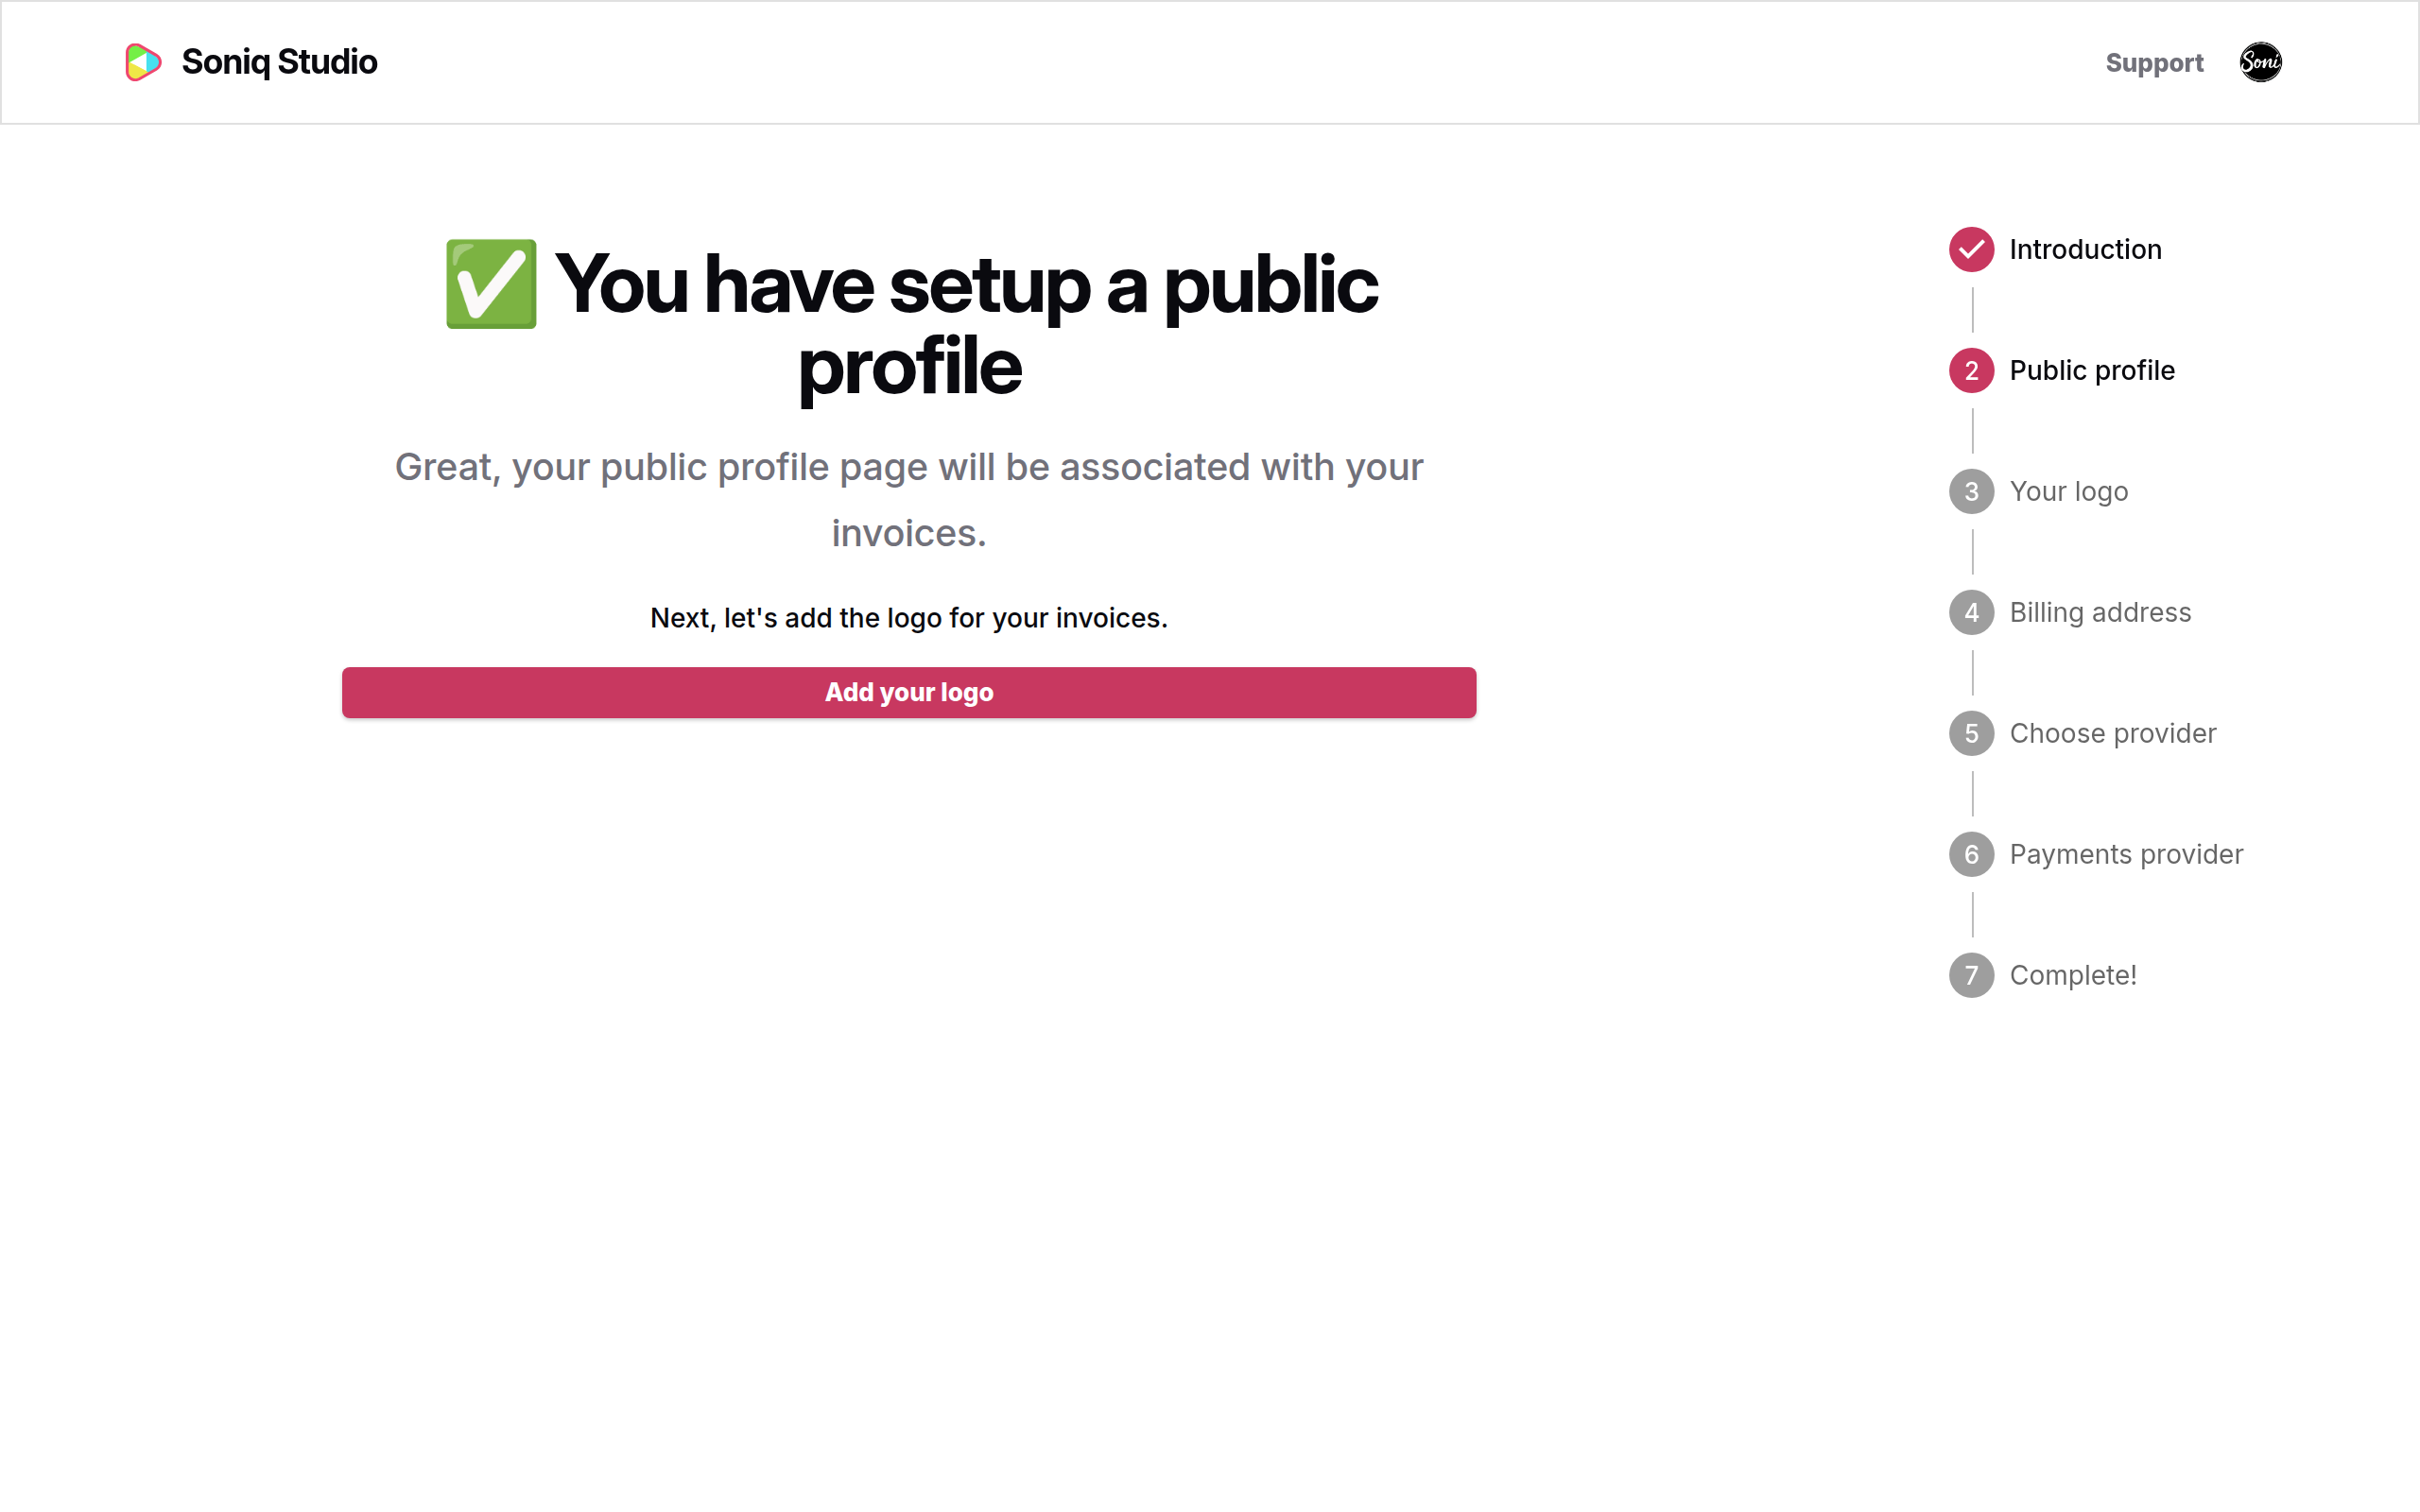
Soniq Studio confirms your public profile is ready.
- Select Add your logo.
Step 3: Add your logo
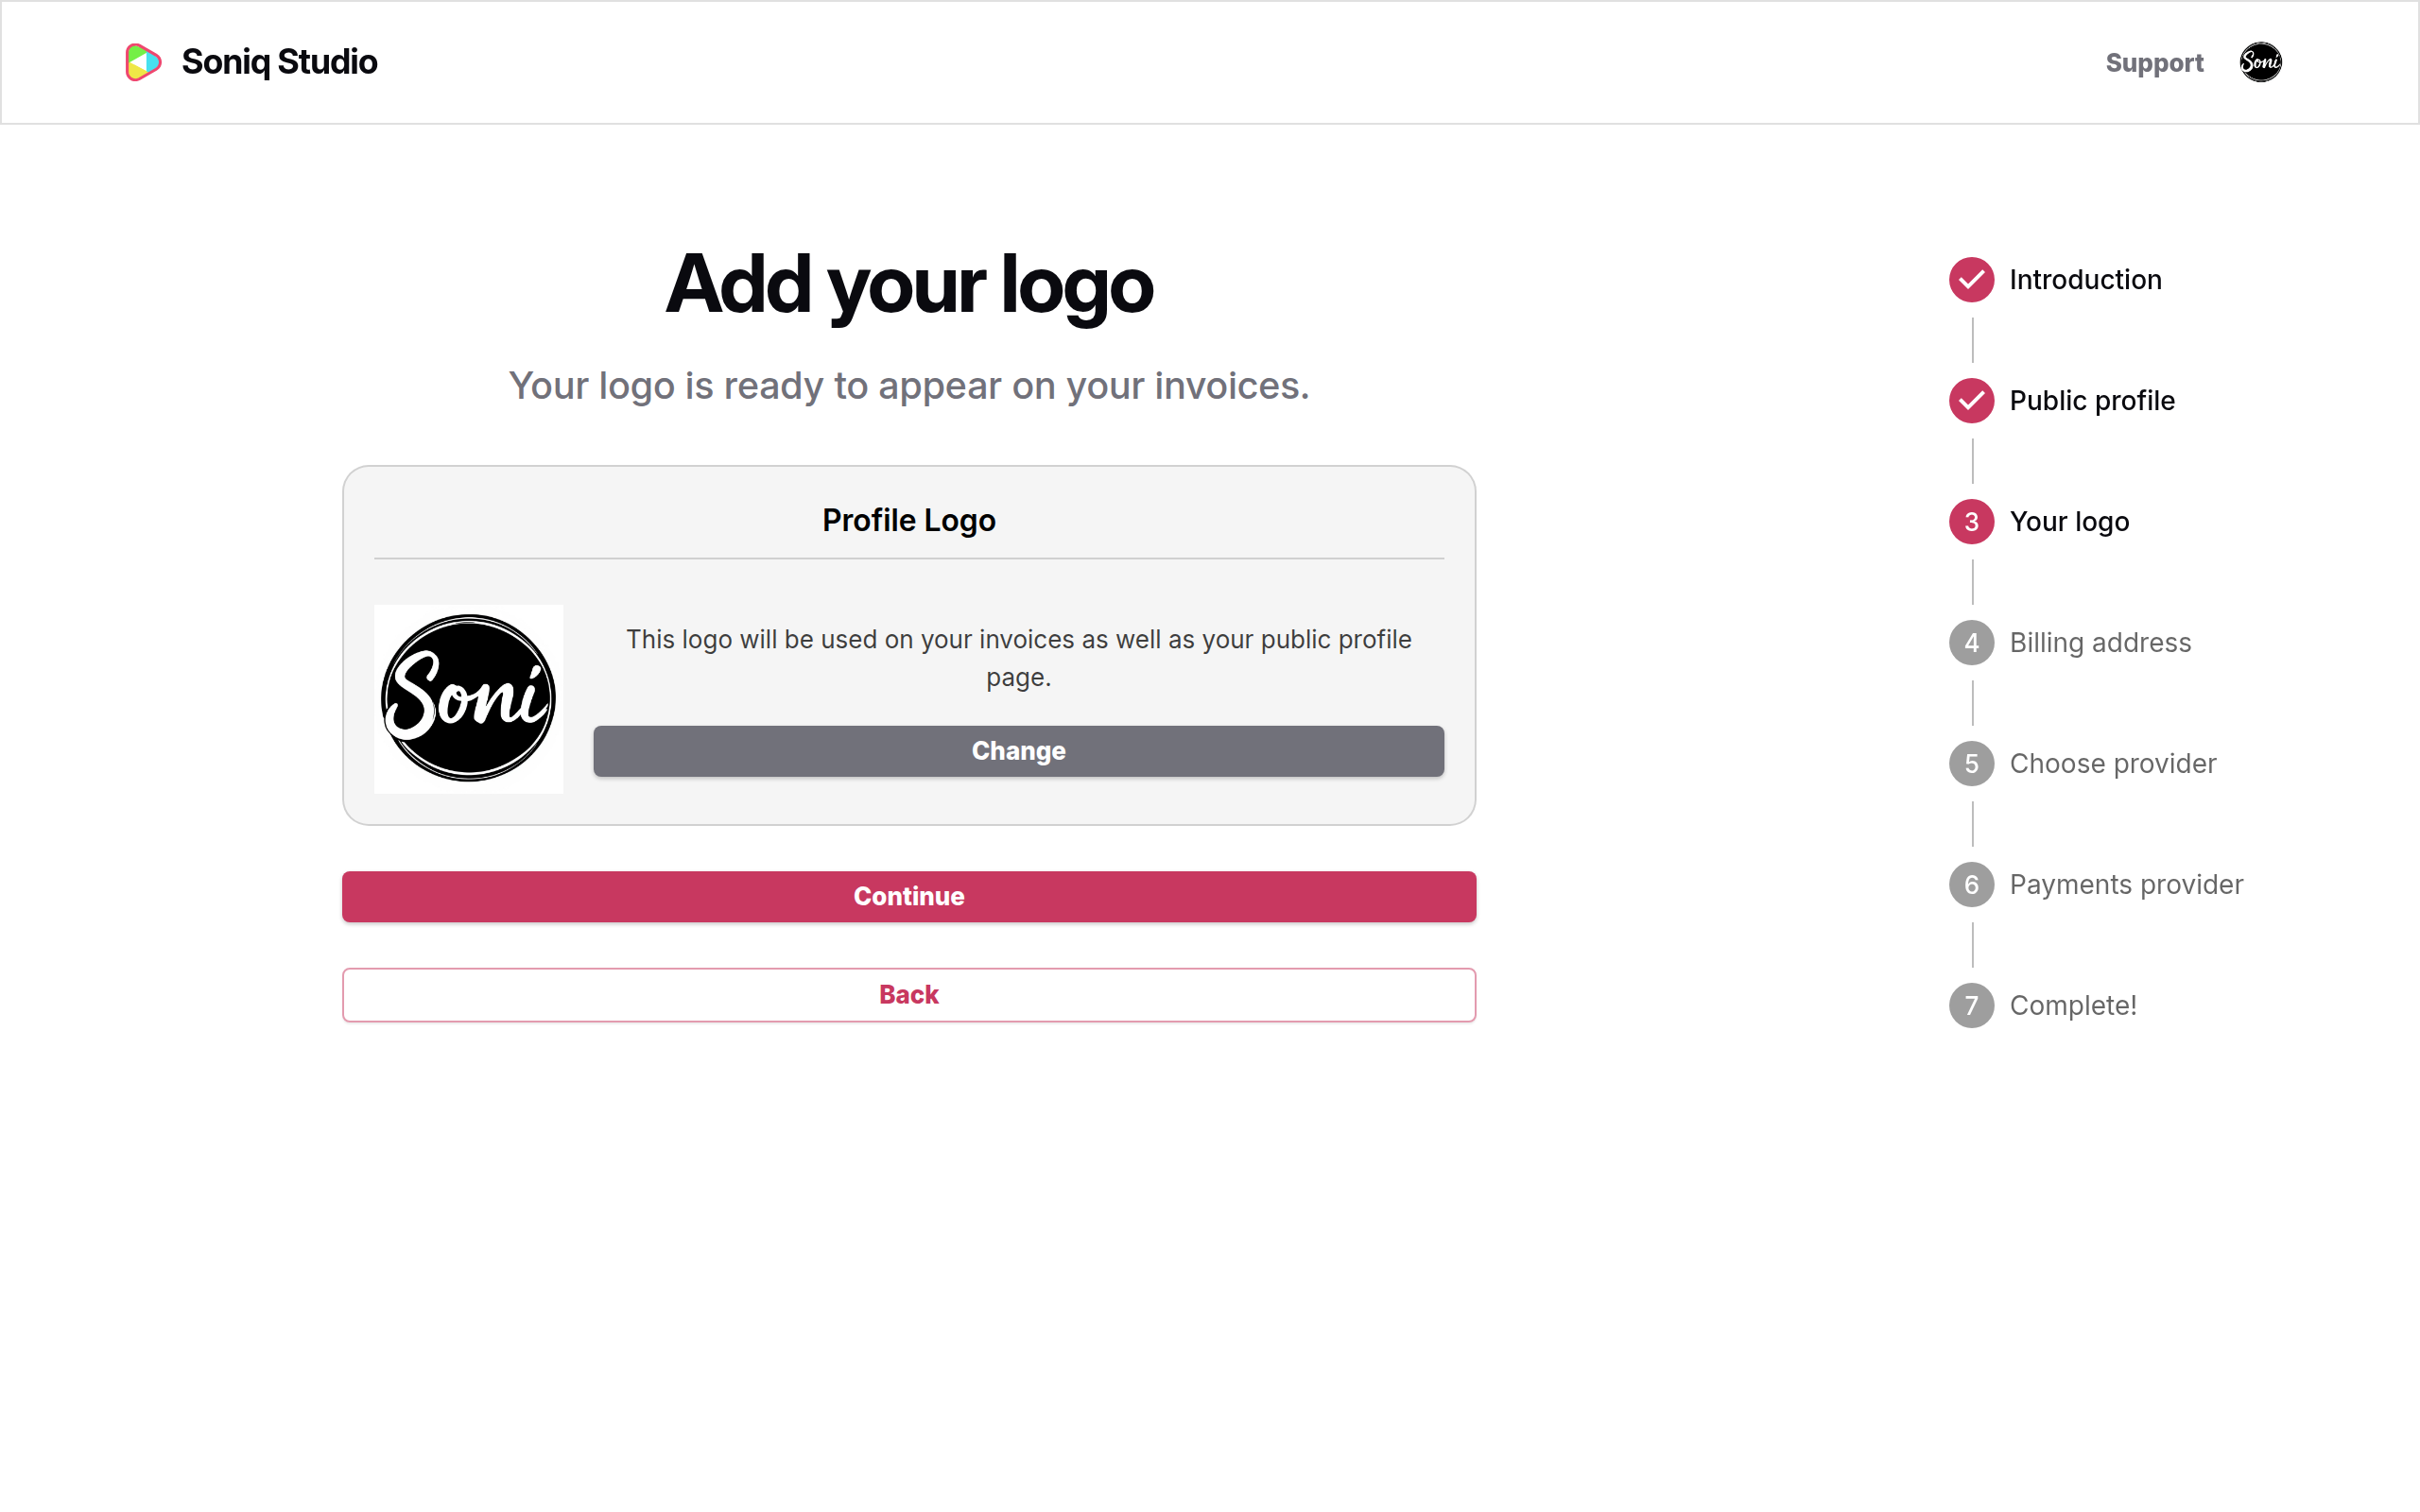
Your logo appears at the top of every invoice and on your public profile.
- Select Change and choose an image of your logo.
- Select Continue.
Step 4: Add your billing address
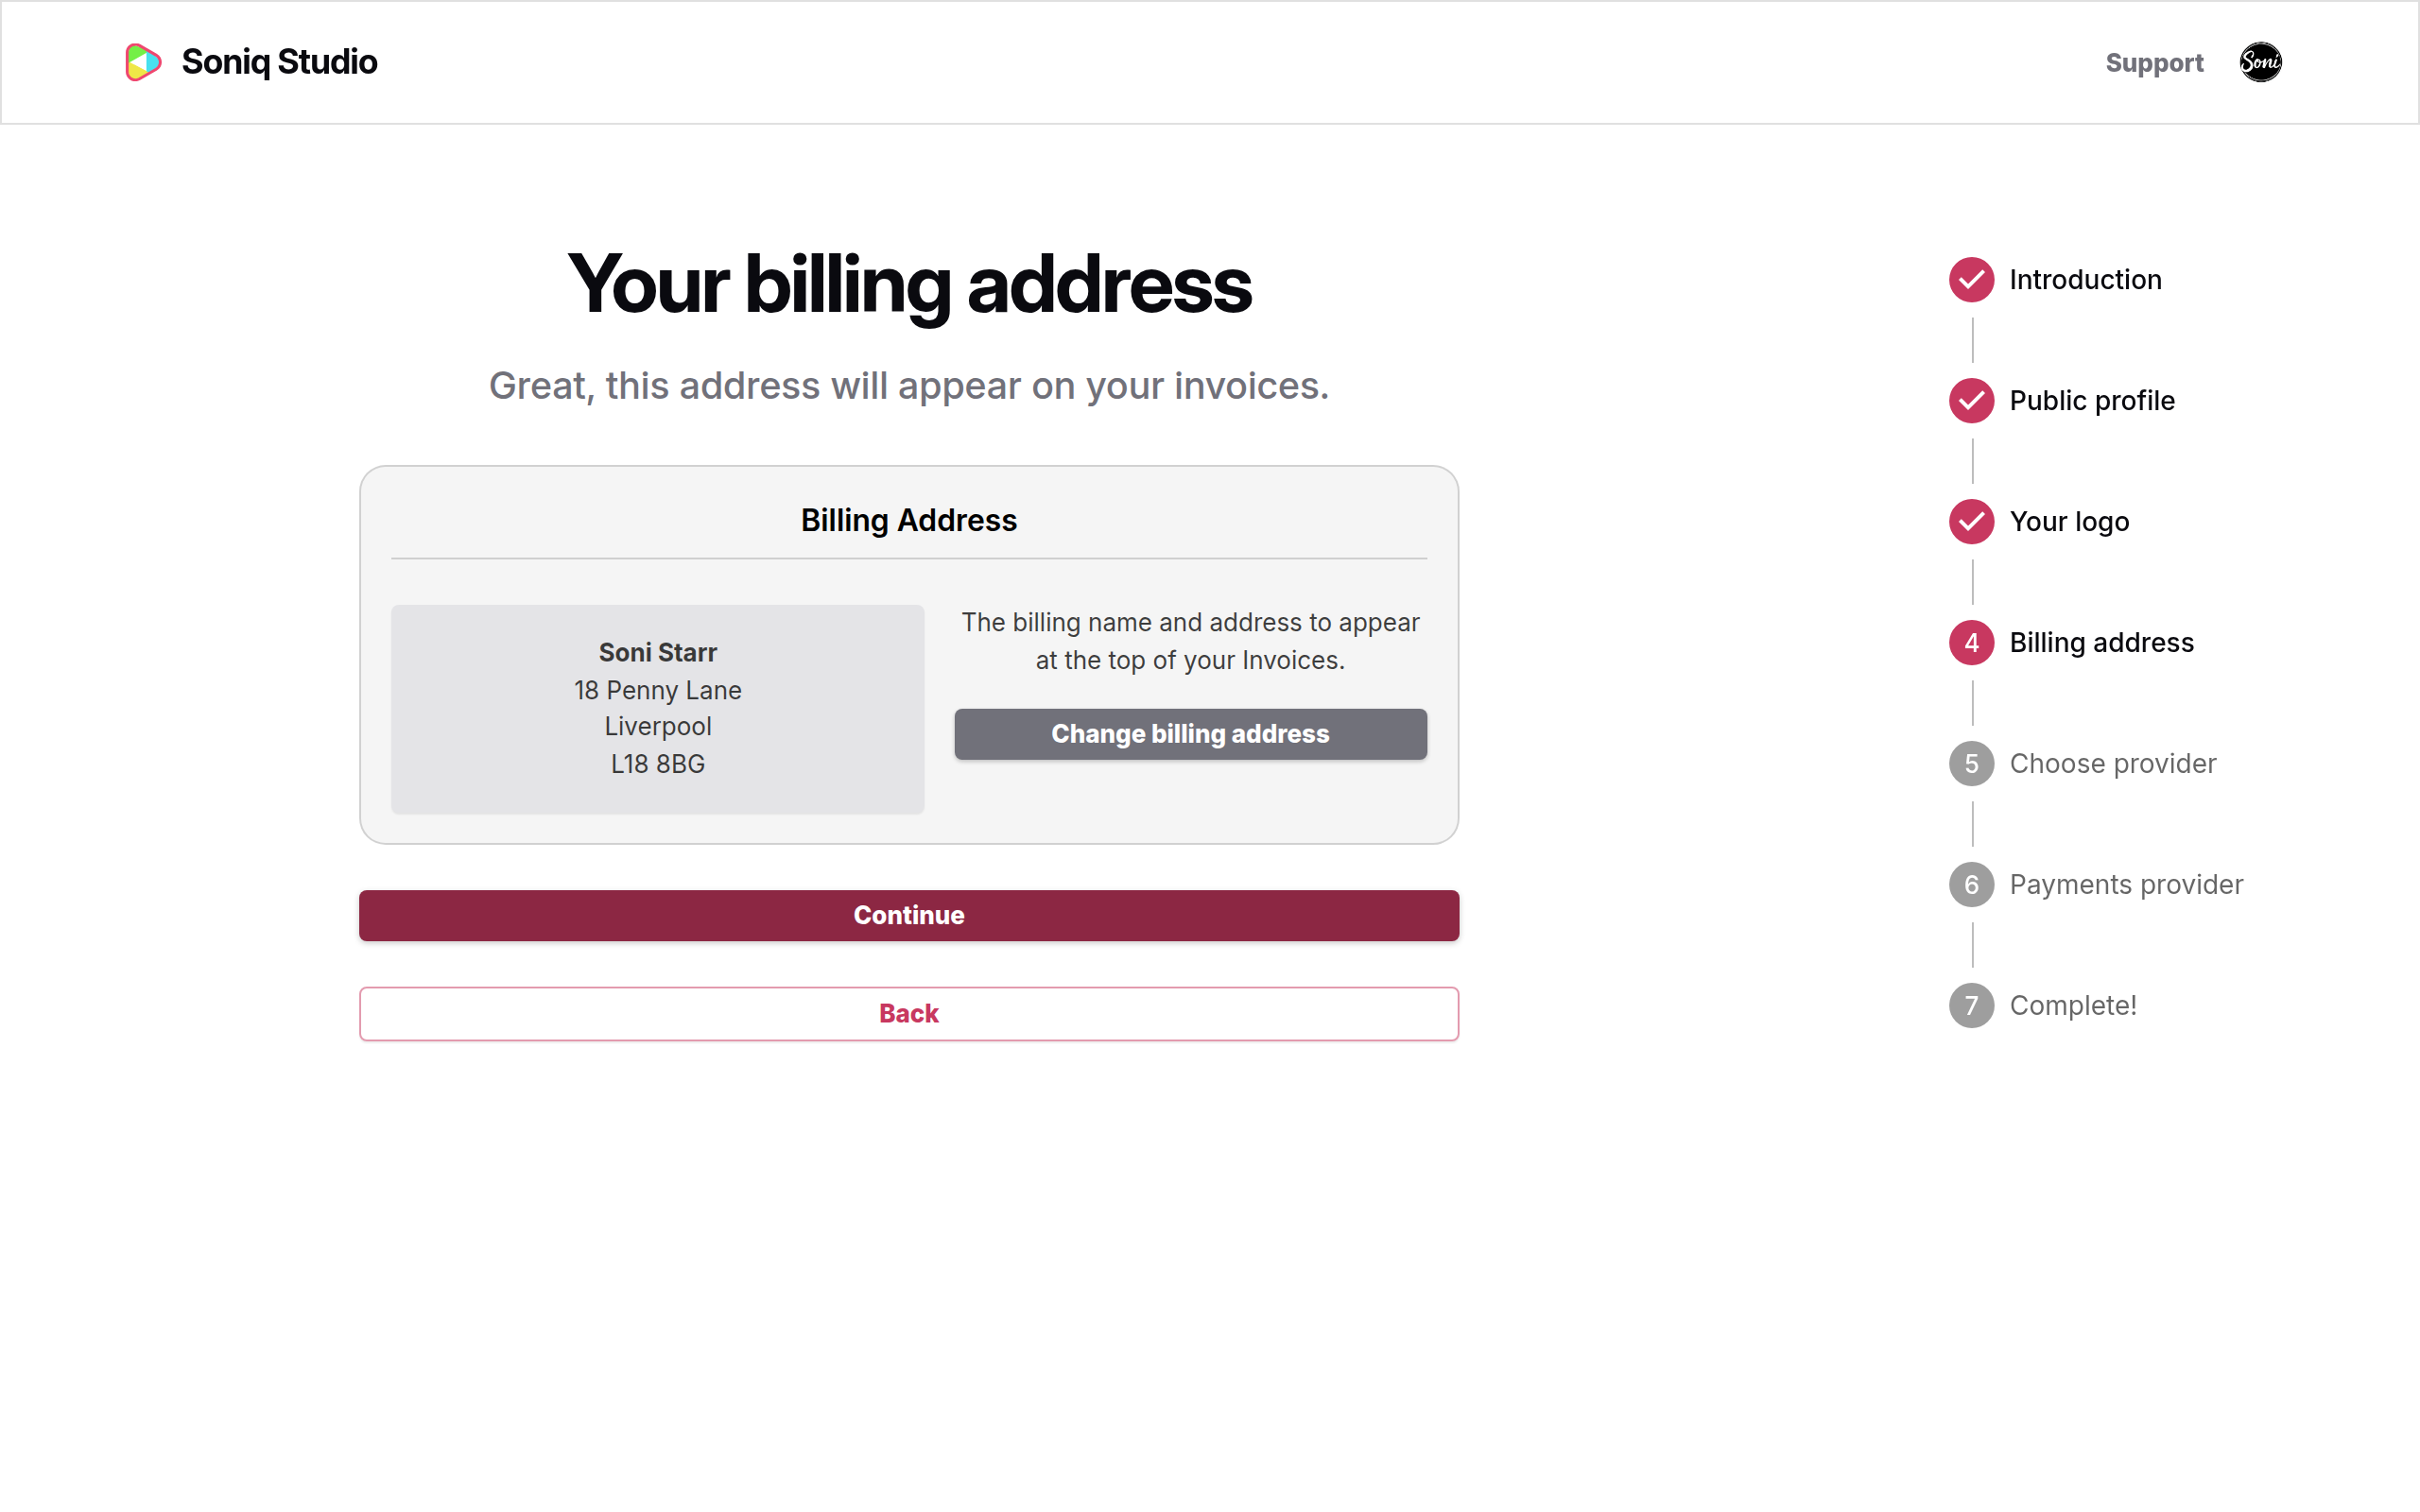
Your billing name and address appear at the top of every invoice. You need them before you can send an invoice.
- Select Change billing address.
- Enter your name and address, then select Save. Soni uses their studio address in Liverpool.
- Select Continue.
Step 5: Choose GoCardless
Now we choose how students pay you. GoCardless takes payments straight from your student’s bank account. Students pay by Pay by Bank in their banking app, or by Direct Debit.
- Select the GoCardless card.
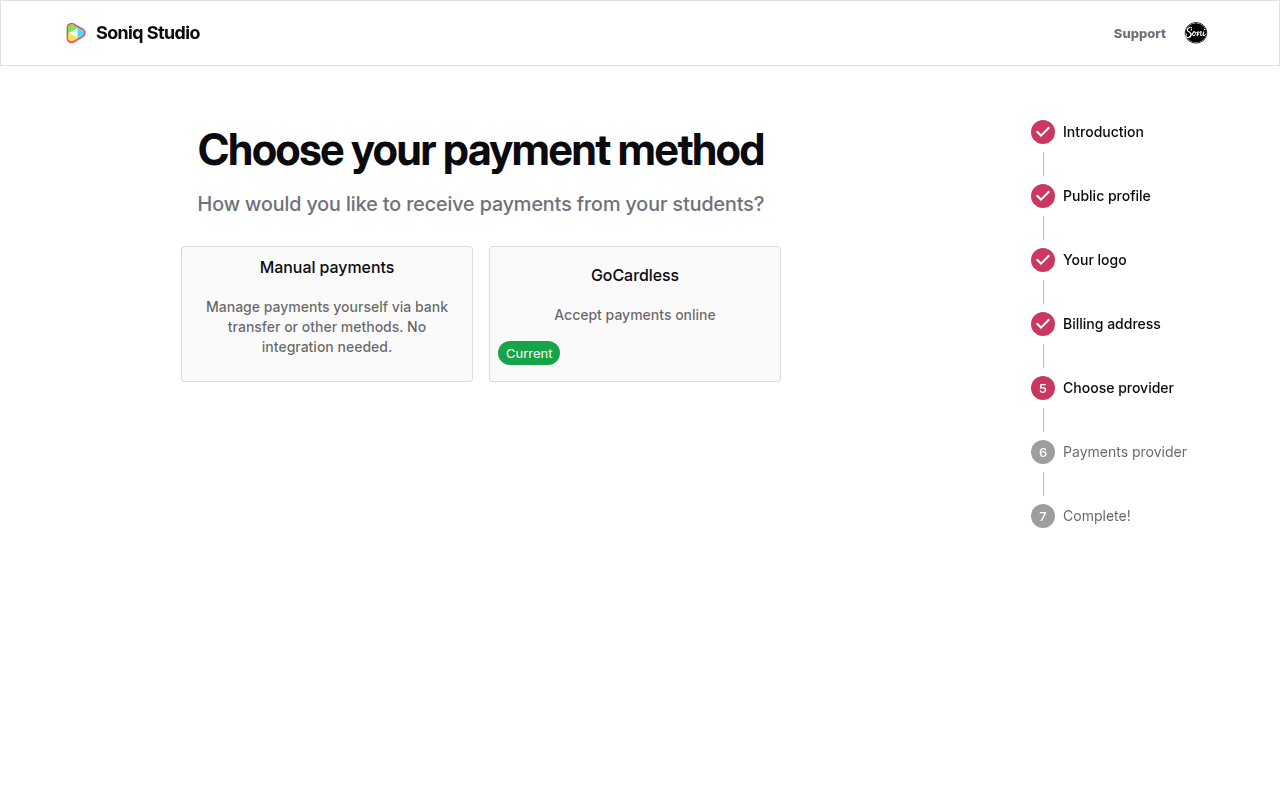
Manual payments is the other choice. This tutorial uses GoCardless.
Step 6: Create your GoCardless account
Soniq Studio now sends you to GoCardless to create your own account.
- Select Start onboarding.
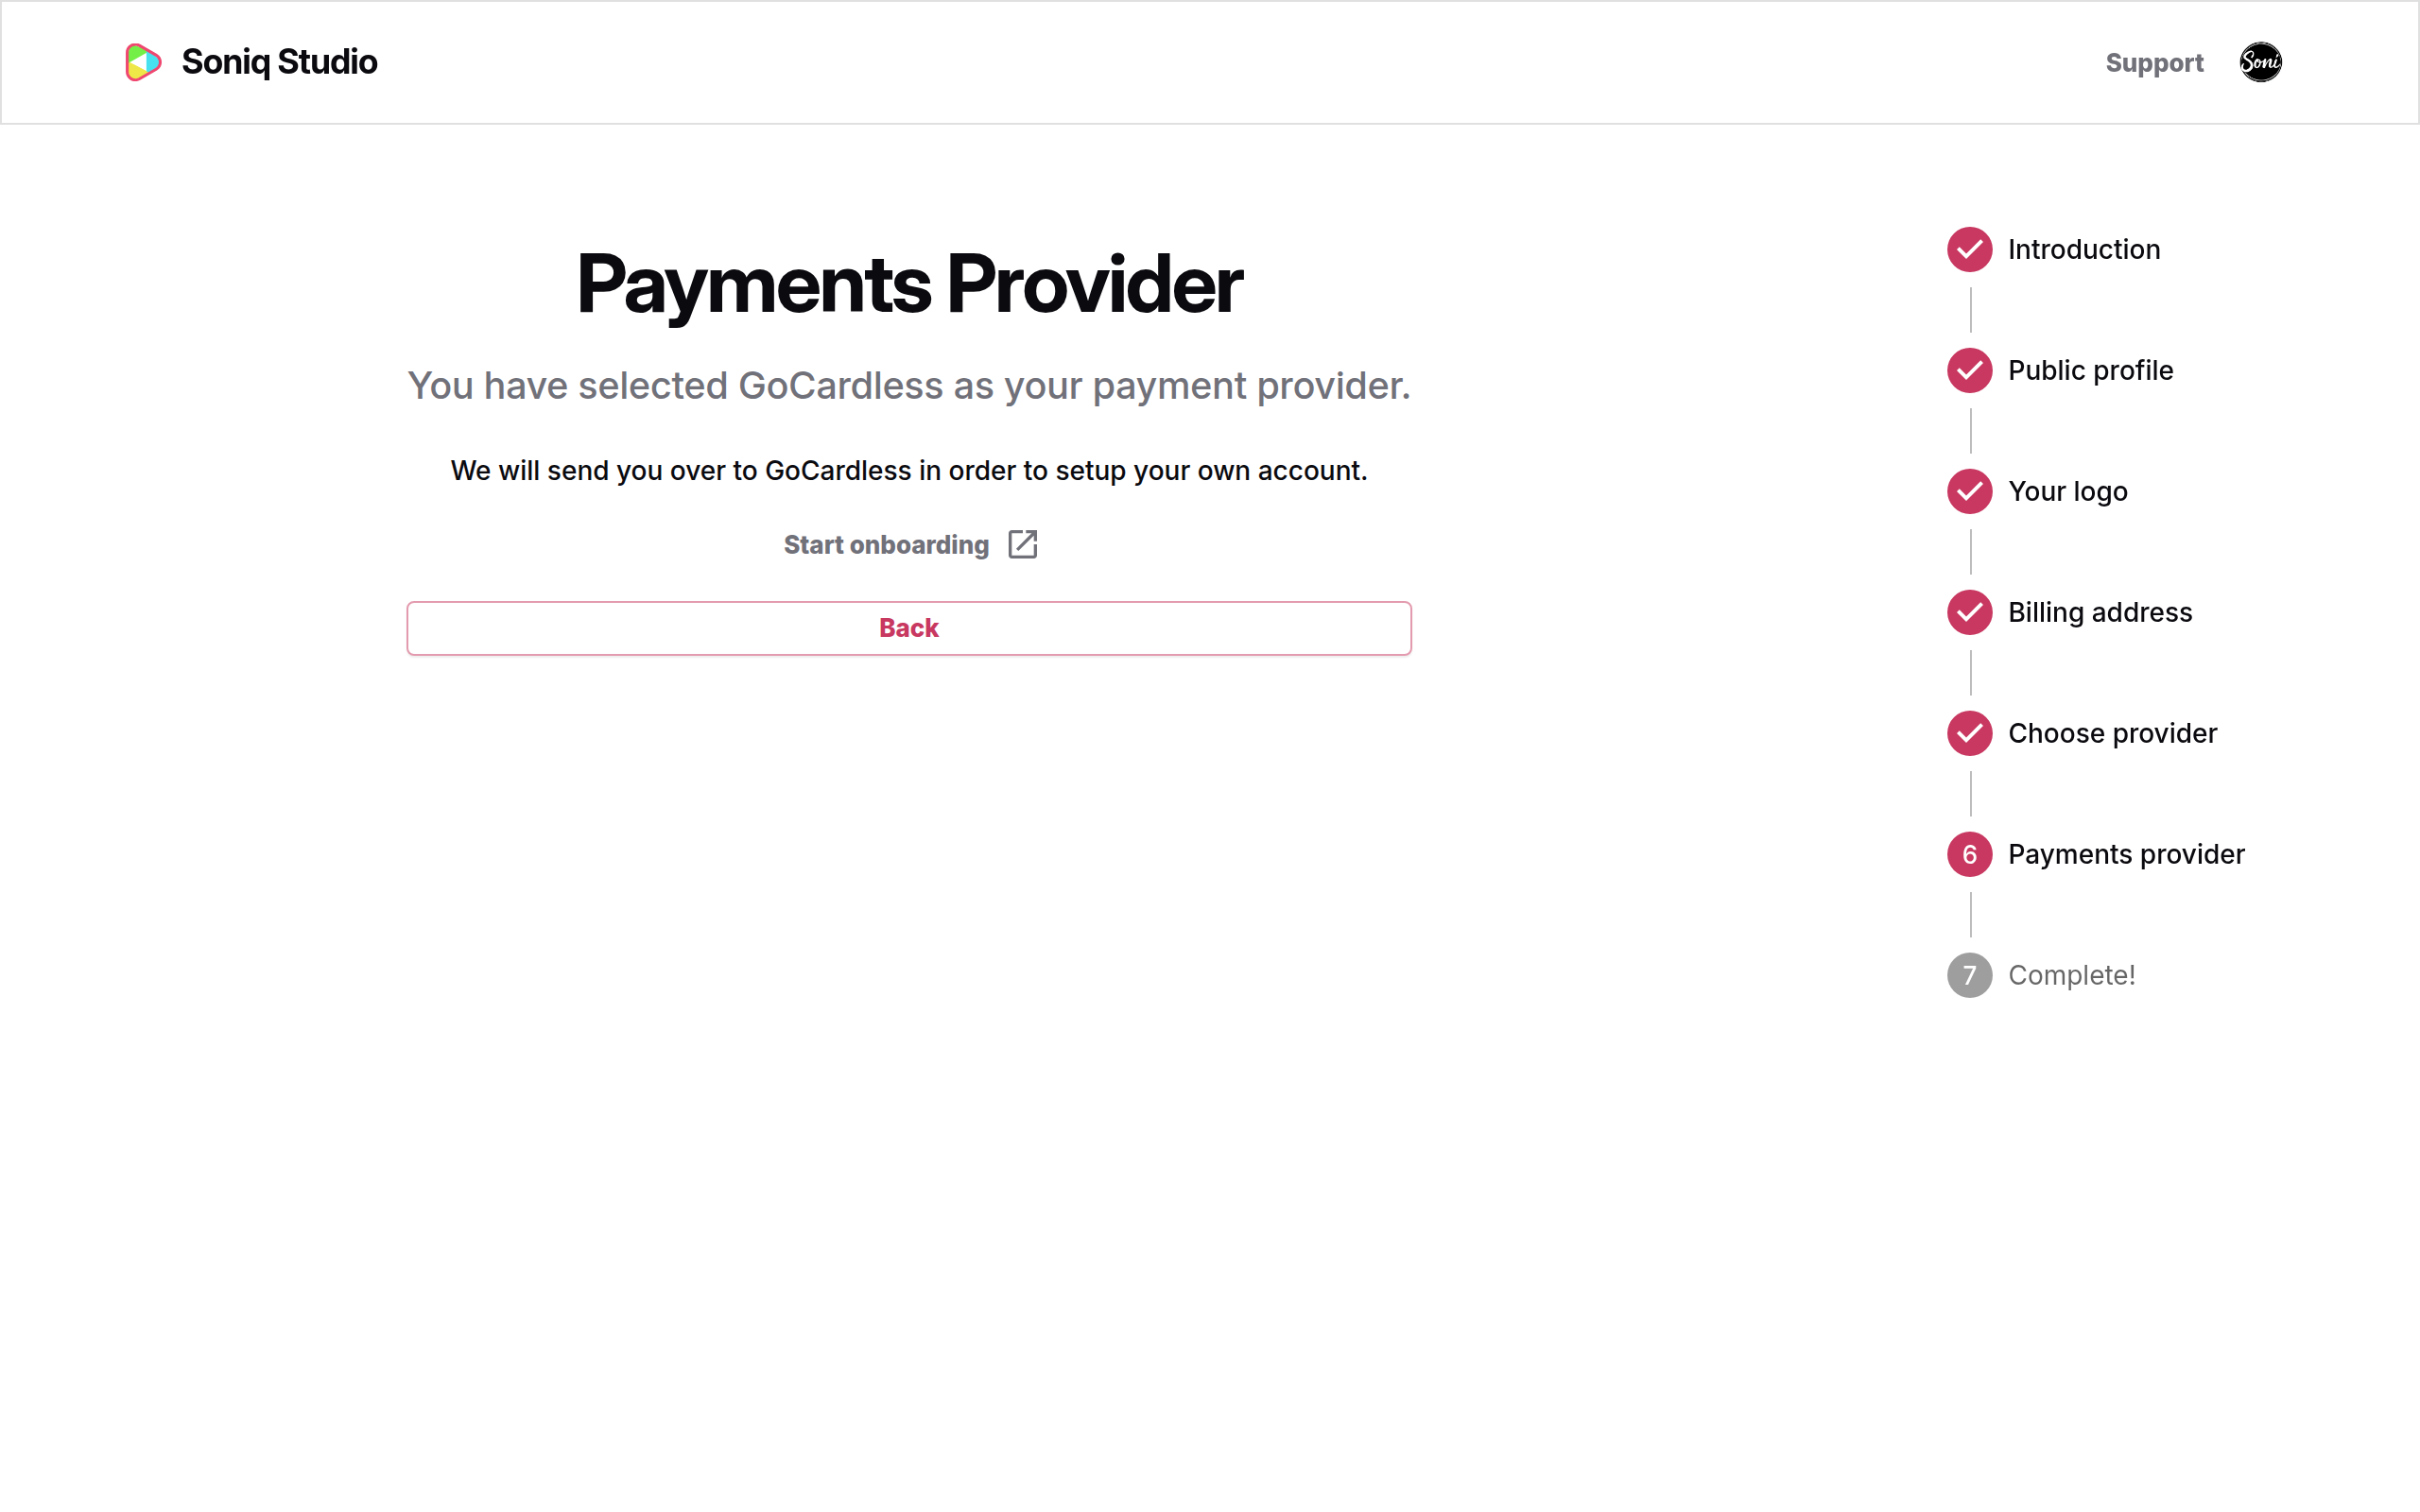
- Follow the steps on the GoCardless website. GoCardless asks for details about you and your business, and for the bank account that receives your money.
When you finish, GoCardless sends you back to Soniq Studio. A message says GoCardless is doing background checks on your account.
- Select Go to payment settings.
The Payments Setup for GoCardless card shows your progress. Verified by GoCardless gets its tick when GoCardless finishes its checks. Until then, the card may ask you to Refresh status or Finish verifying.
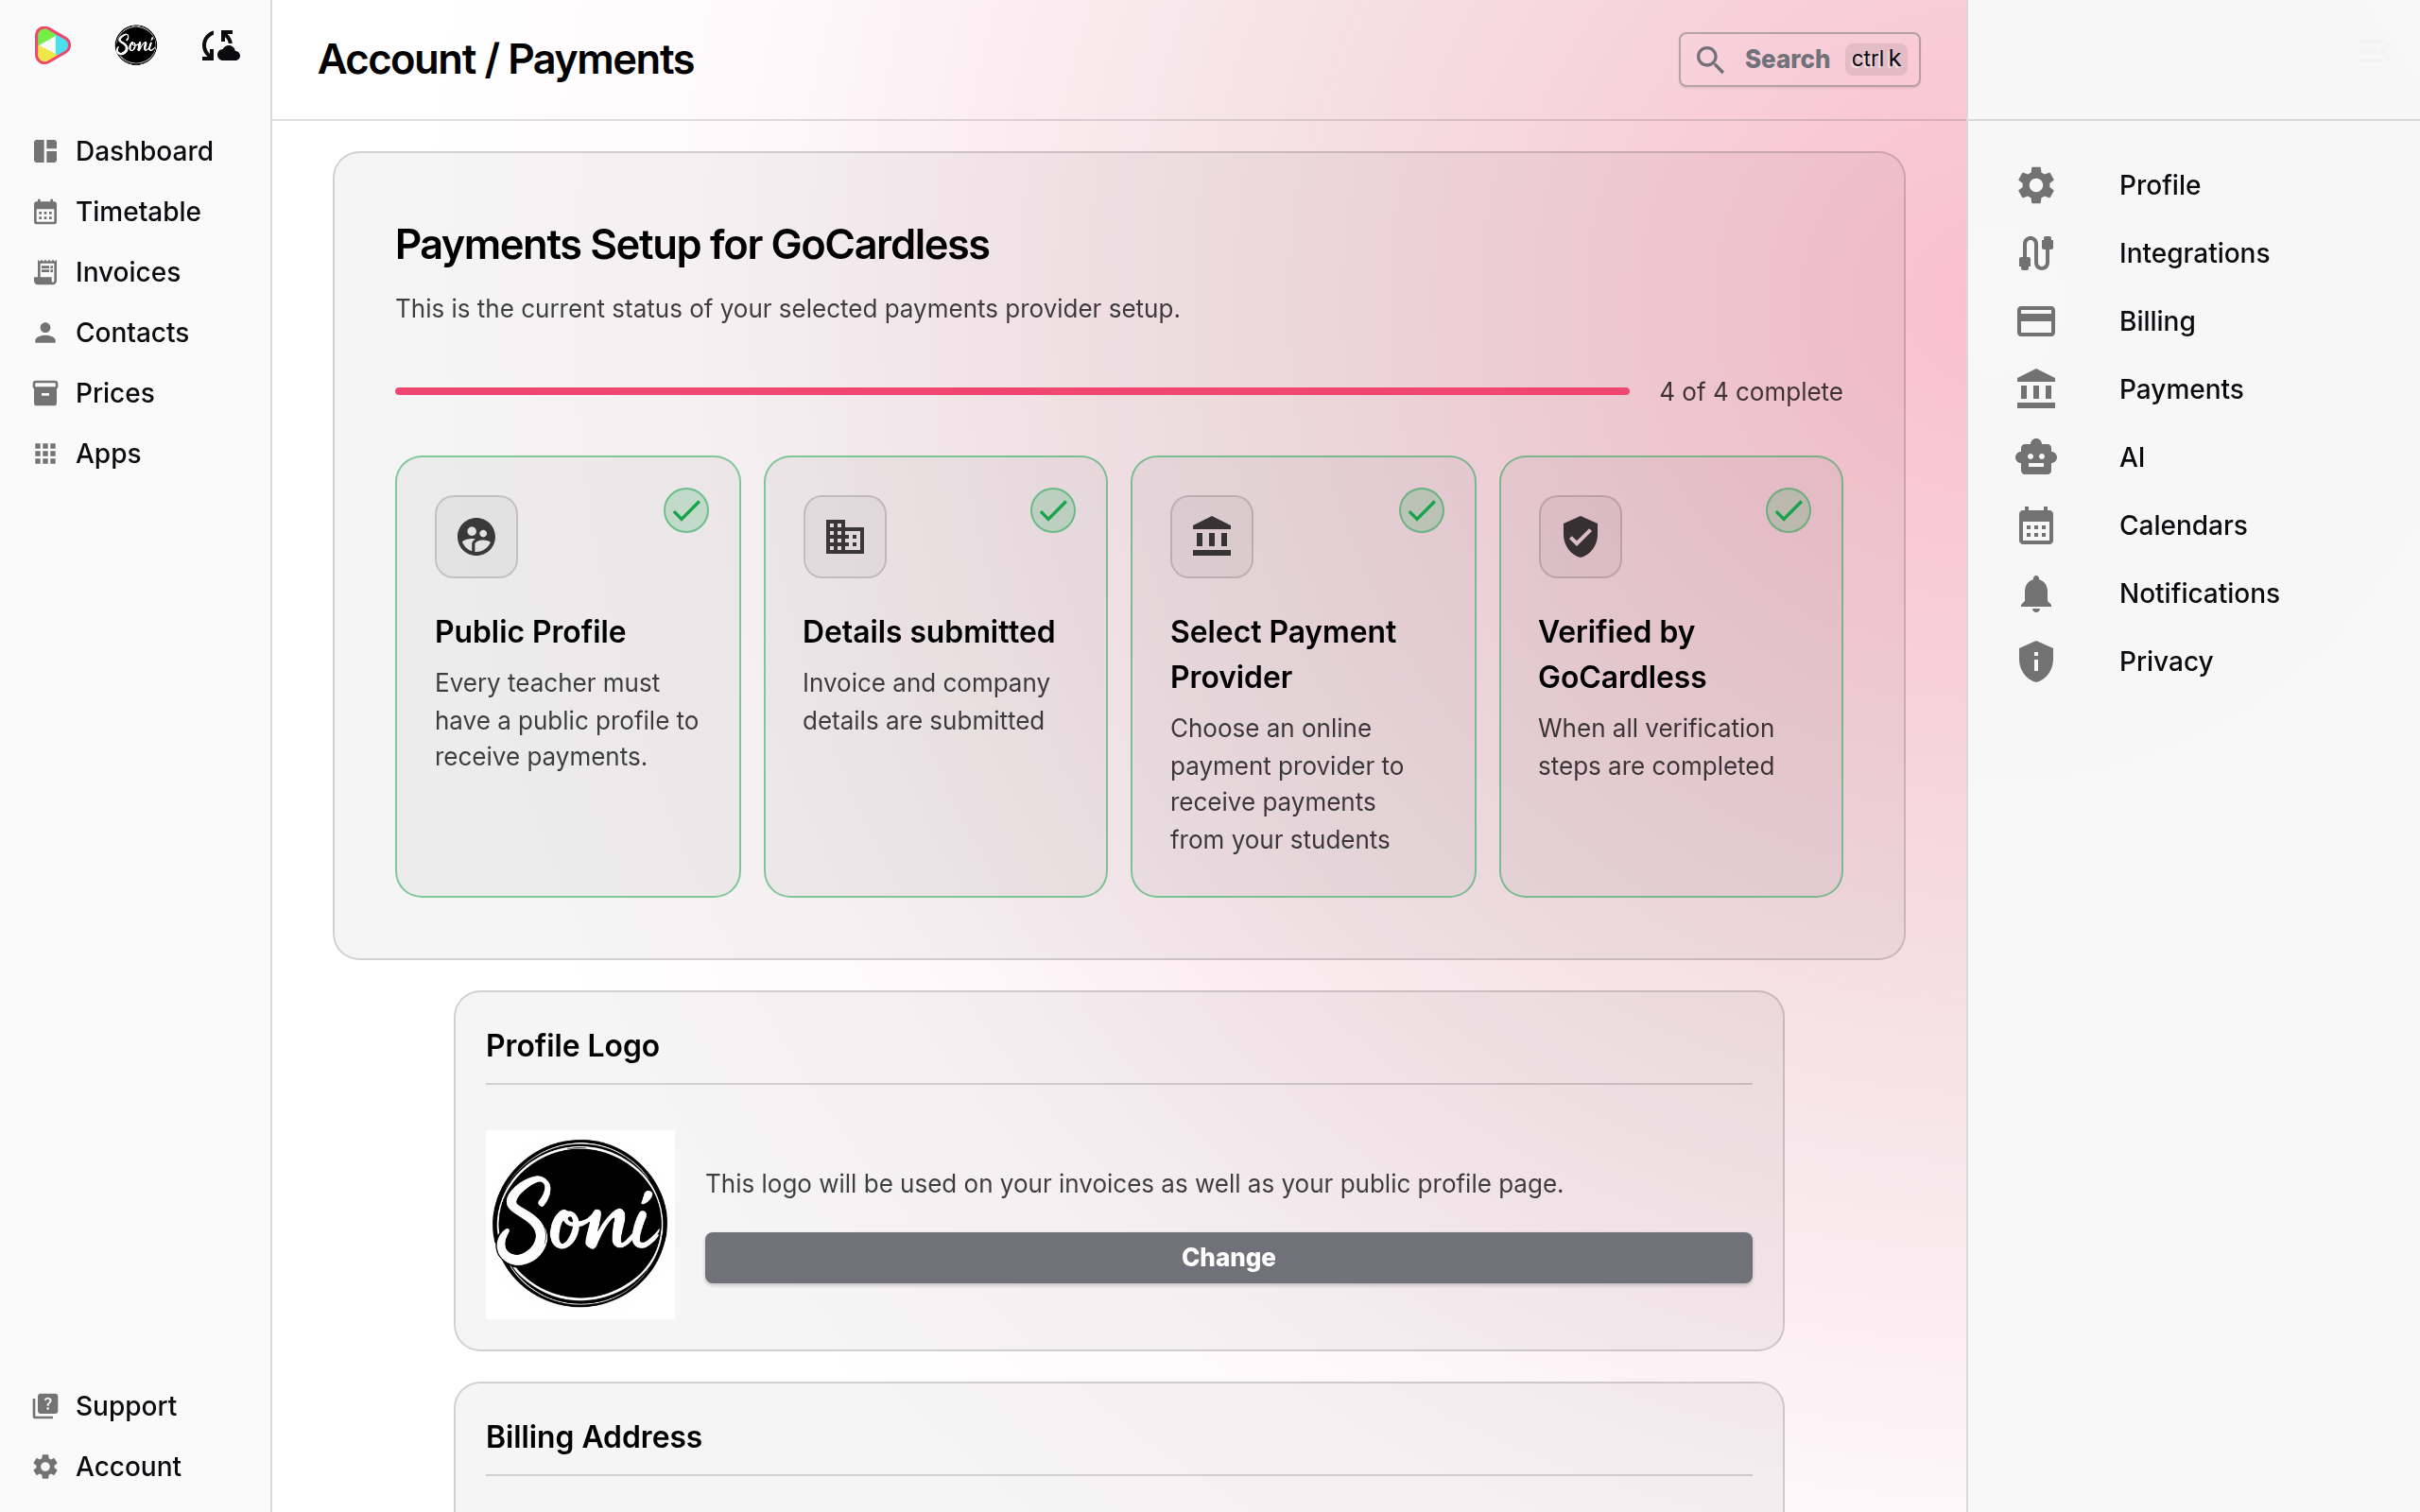
Soni’s account shows 4 of 4 complete. Soni is ready to send invoices.
Step 7: Create your first invoice
Now we turn lessons into an invoice.
- Select Invoices in the sidebar.
- Select Create Invoices in the Actions panel.
- Check the Dates and the Days until invoices are due.
- Open your student’s name and tick the lessons to include.
- Select Select.
Soniq Studio shows a preview of the invoice. Check the lessons and the total.
- Select Create invoices.
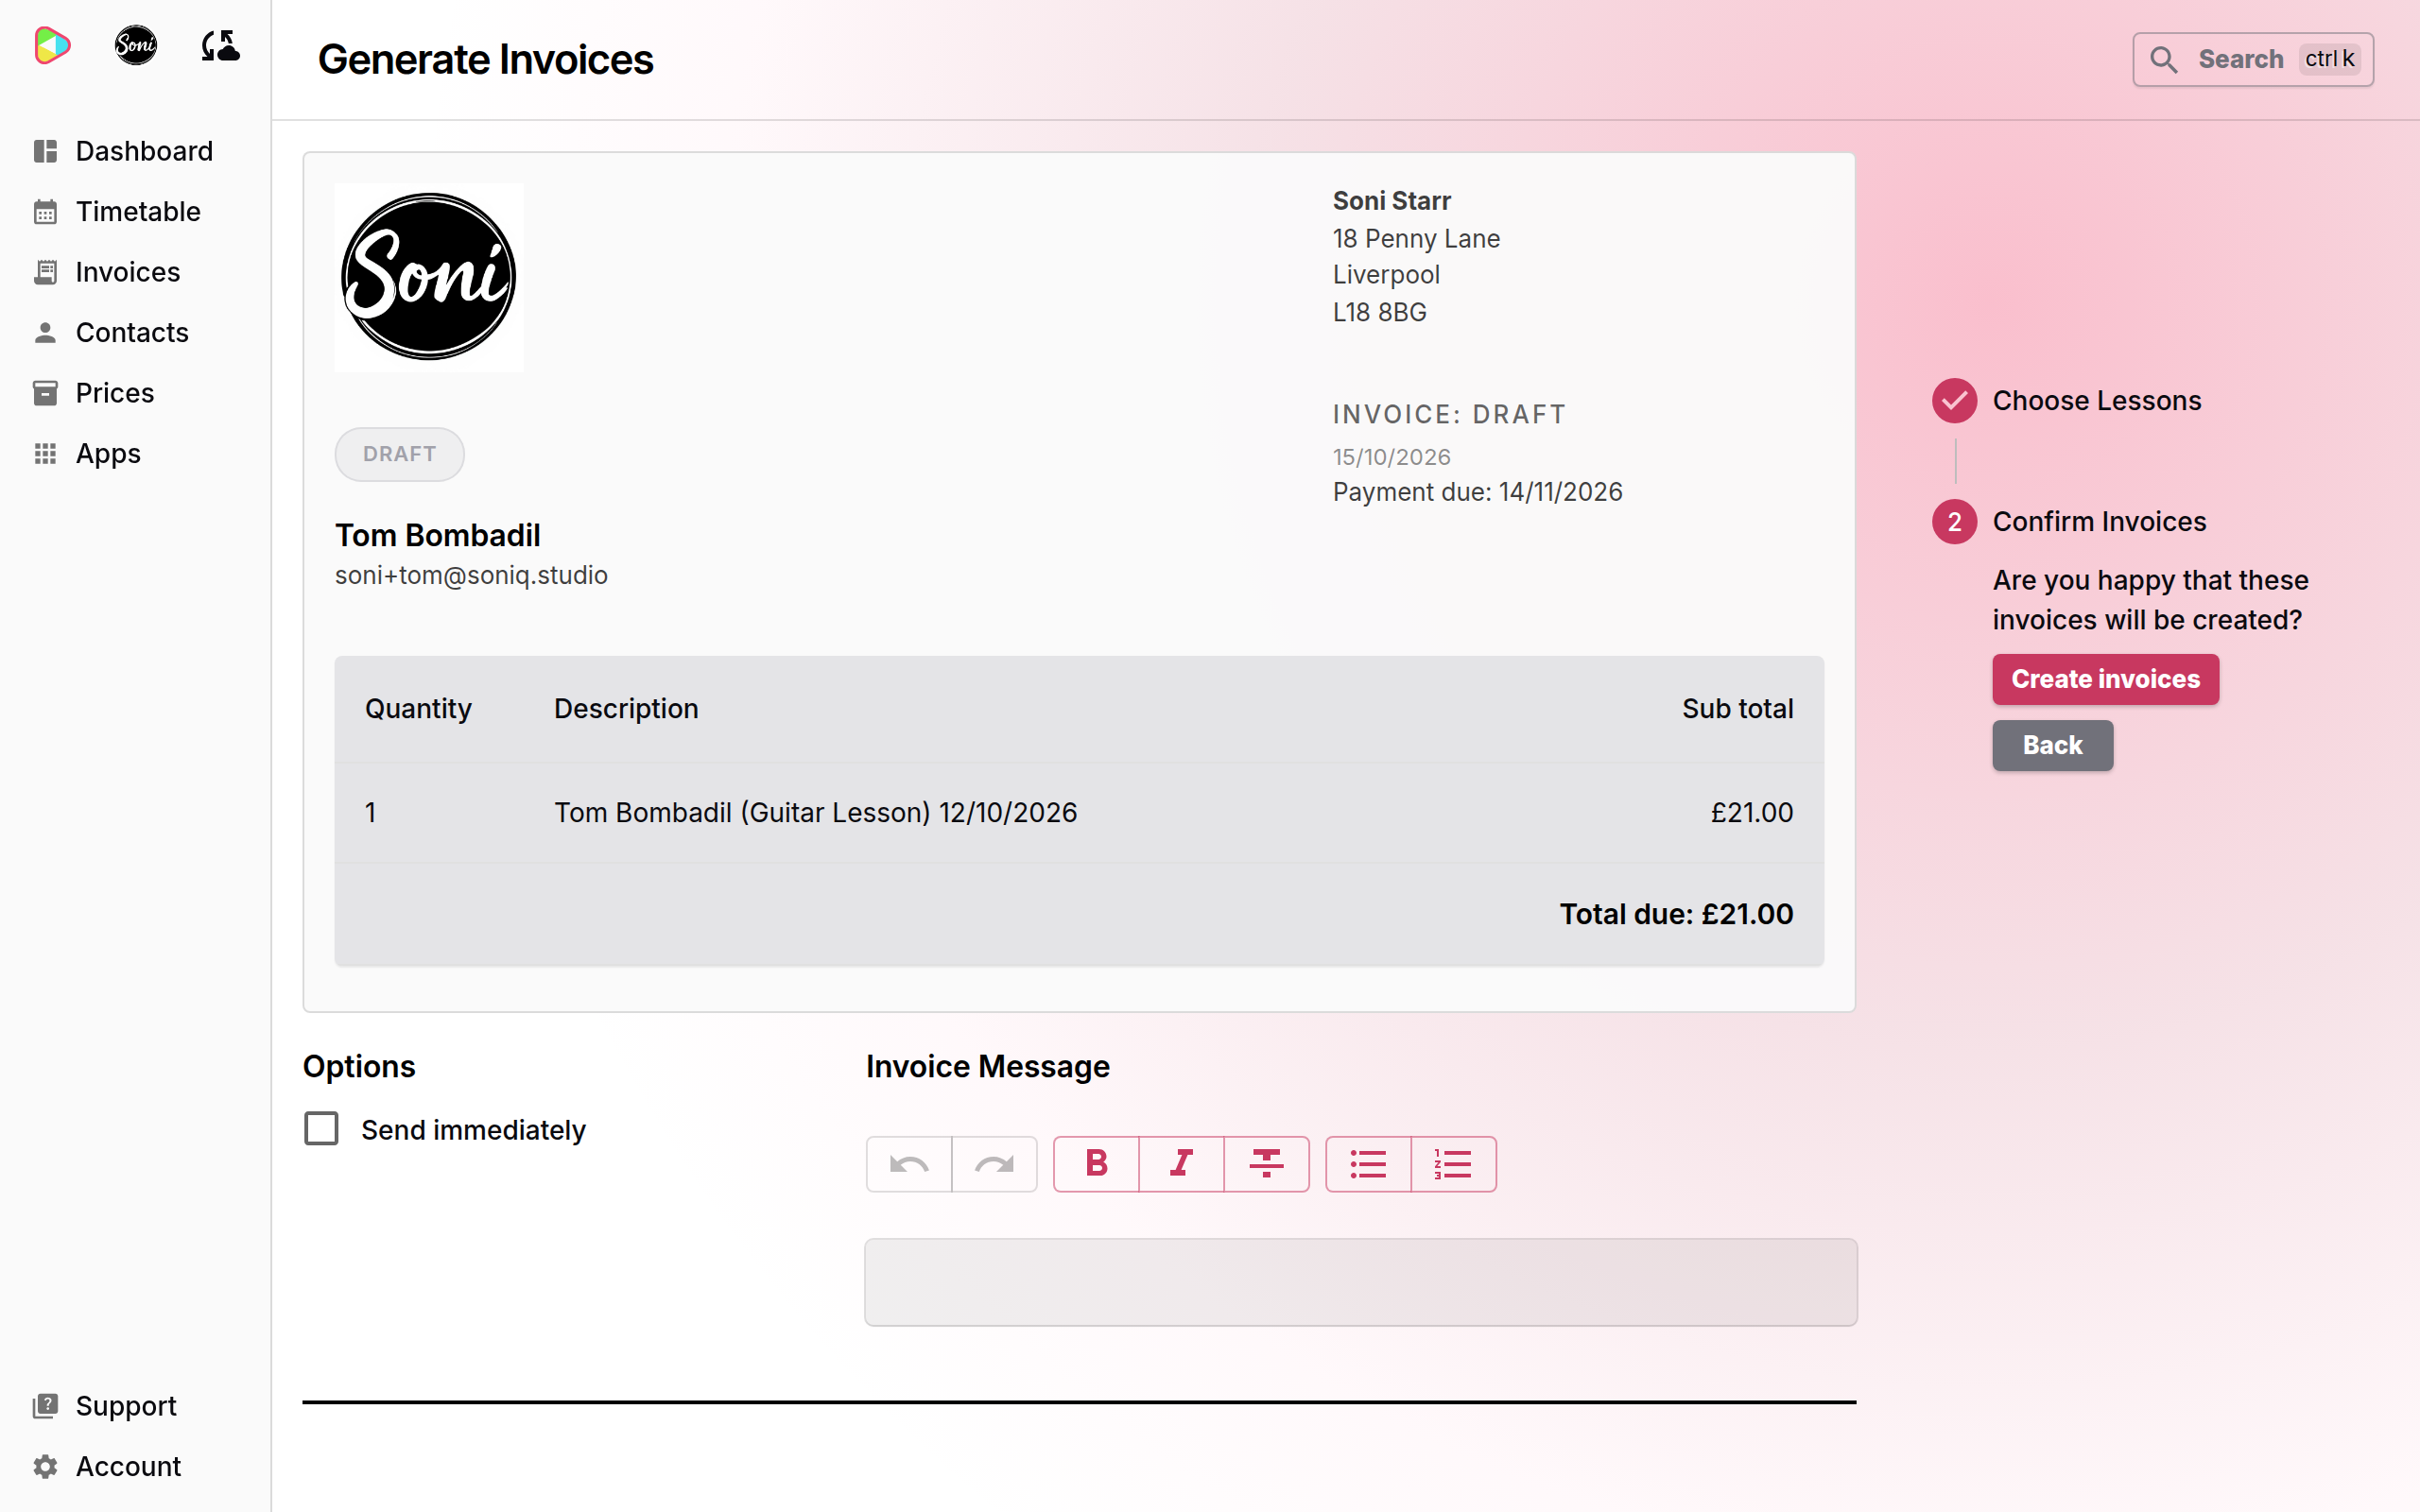
The invoice is a draft. It waits in the Not sent column. Your student has not received anything yet.
Step 8: Send the invoice
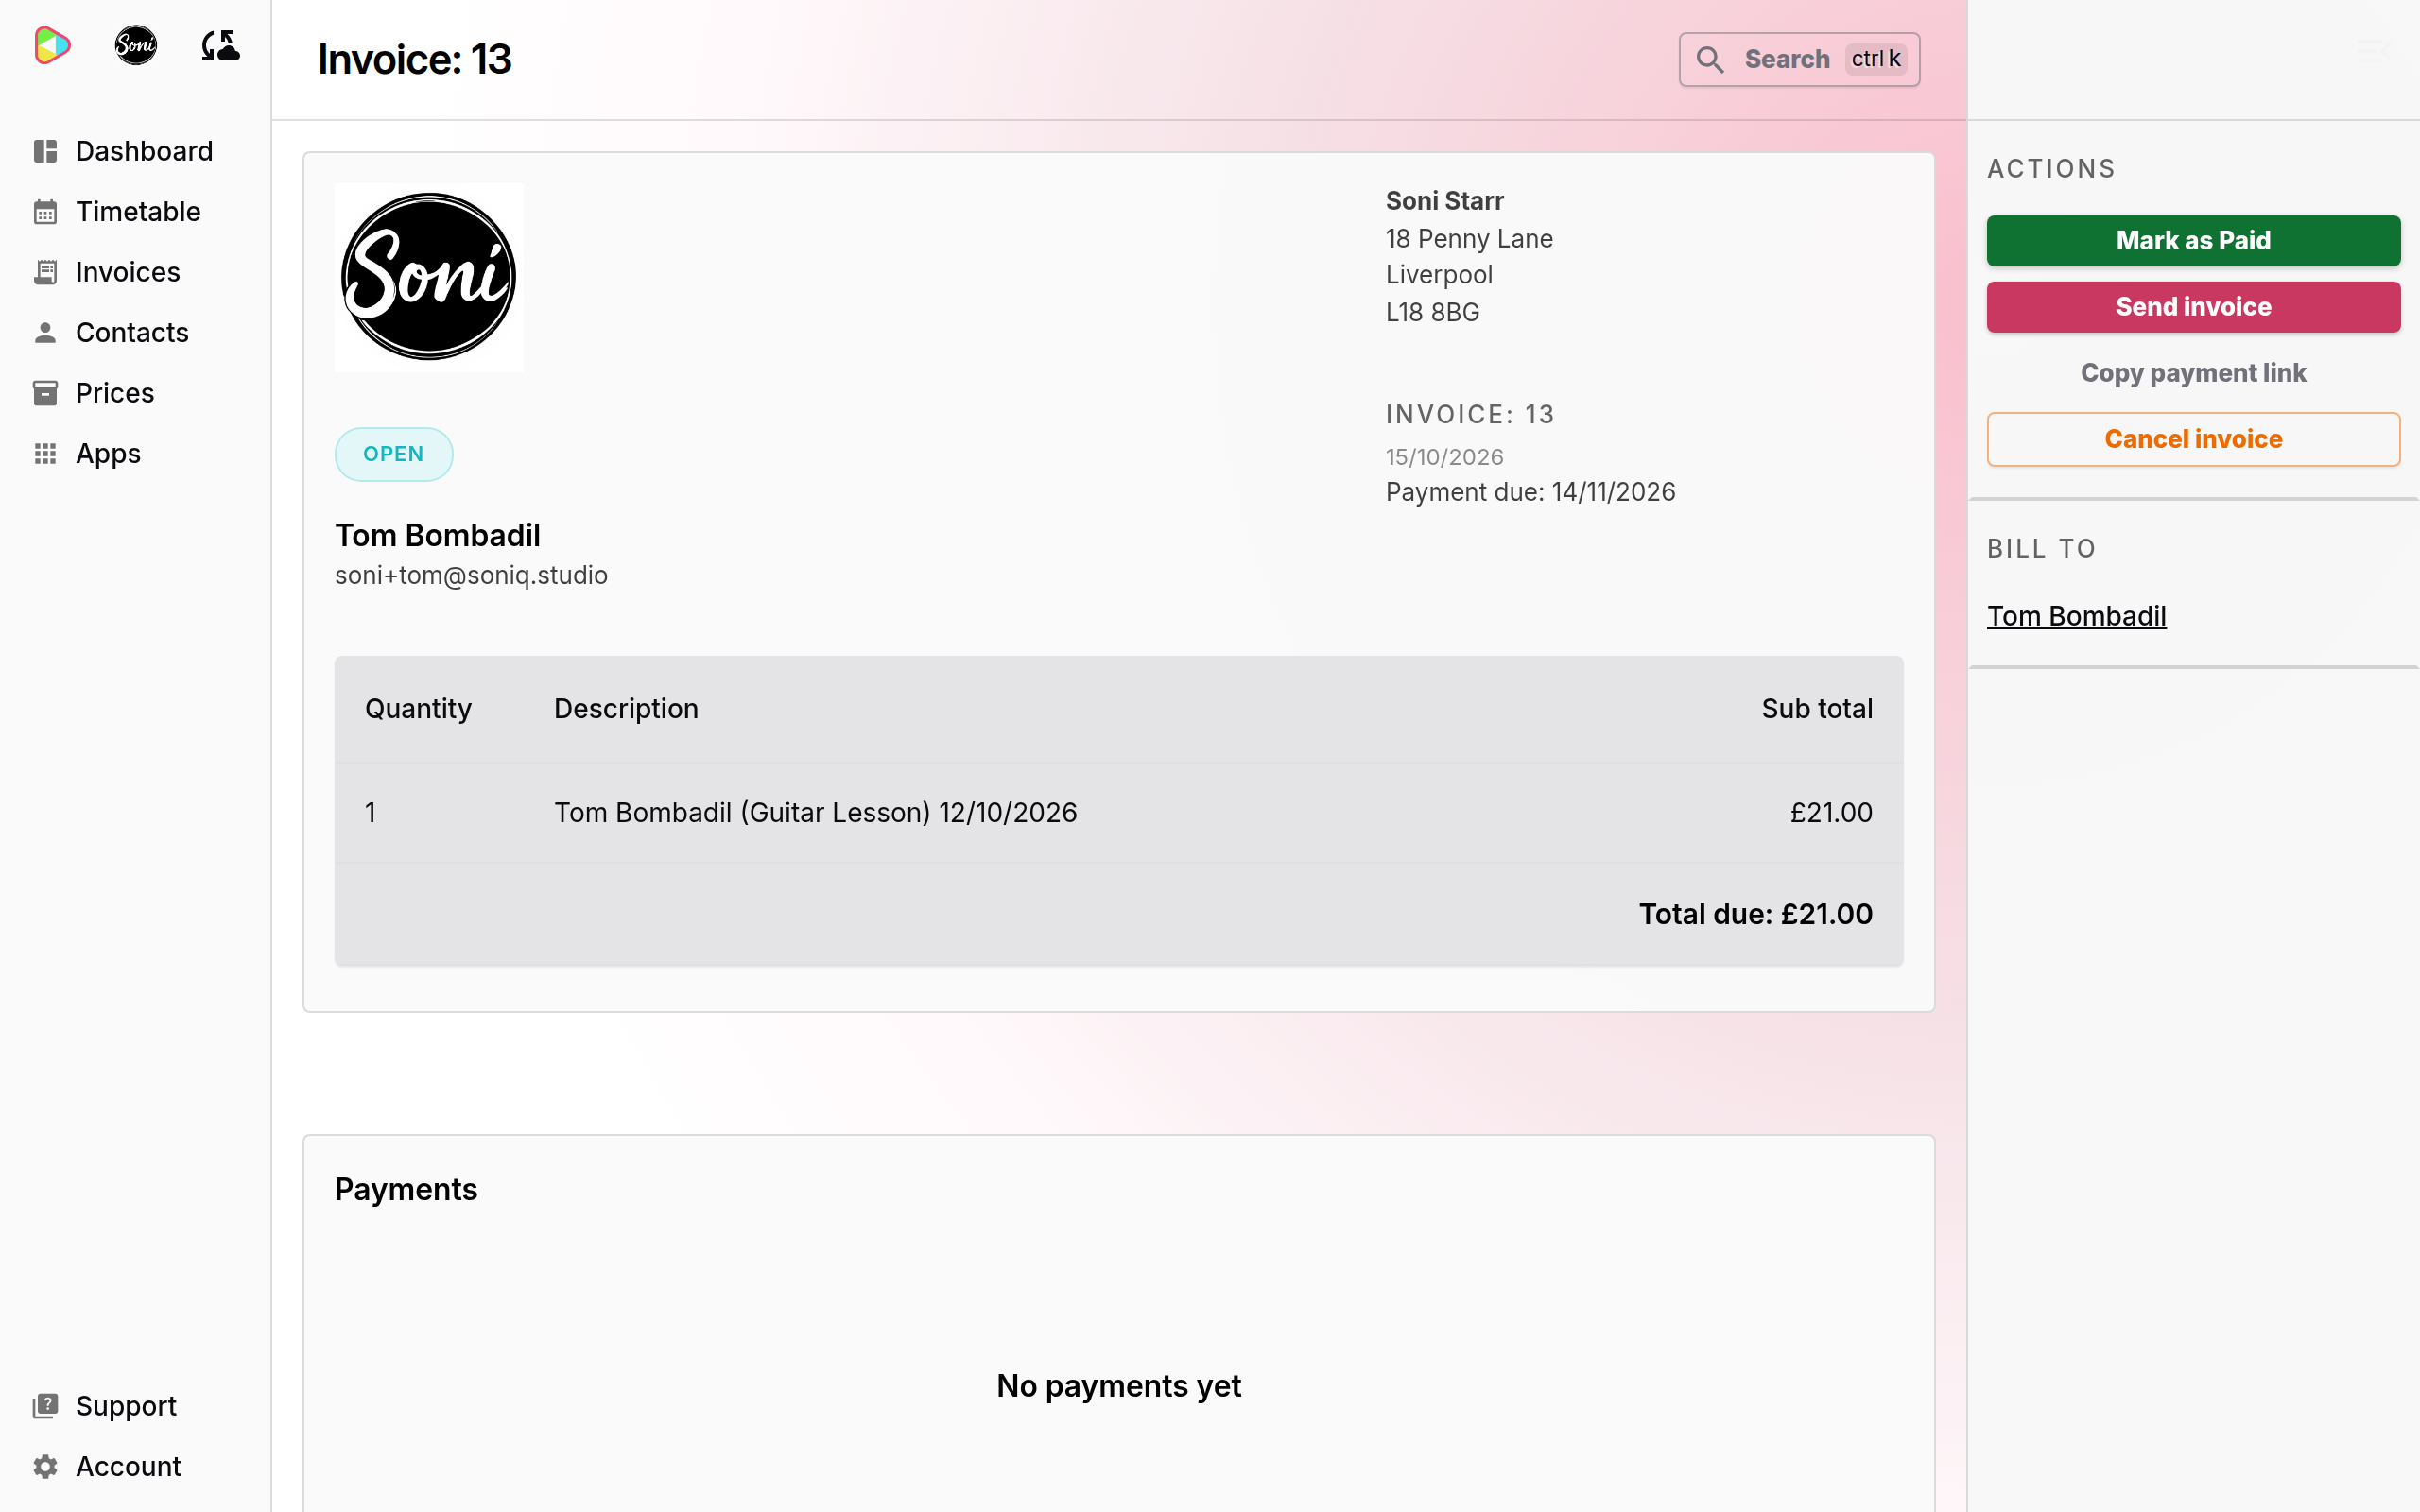
- Select the invoice in the Not sent column.
- Select Send invoice.
The status changes to Open. Soniq Studio emails the invoice to your student, with the invoice attached as a PDF and a Pay now button.
Step 9: Your student pays
Your student selects Pay now in the email. Their payment page opens. It shows the amount due and a button to pay by Pay by Bank. Under Other ways to pay, they can pay by Direct Debit instead.
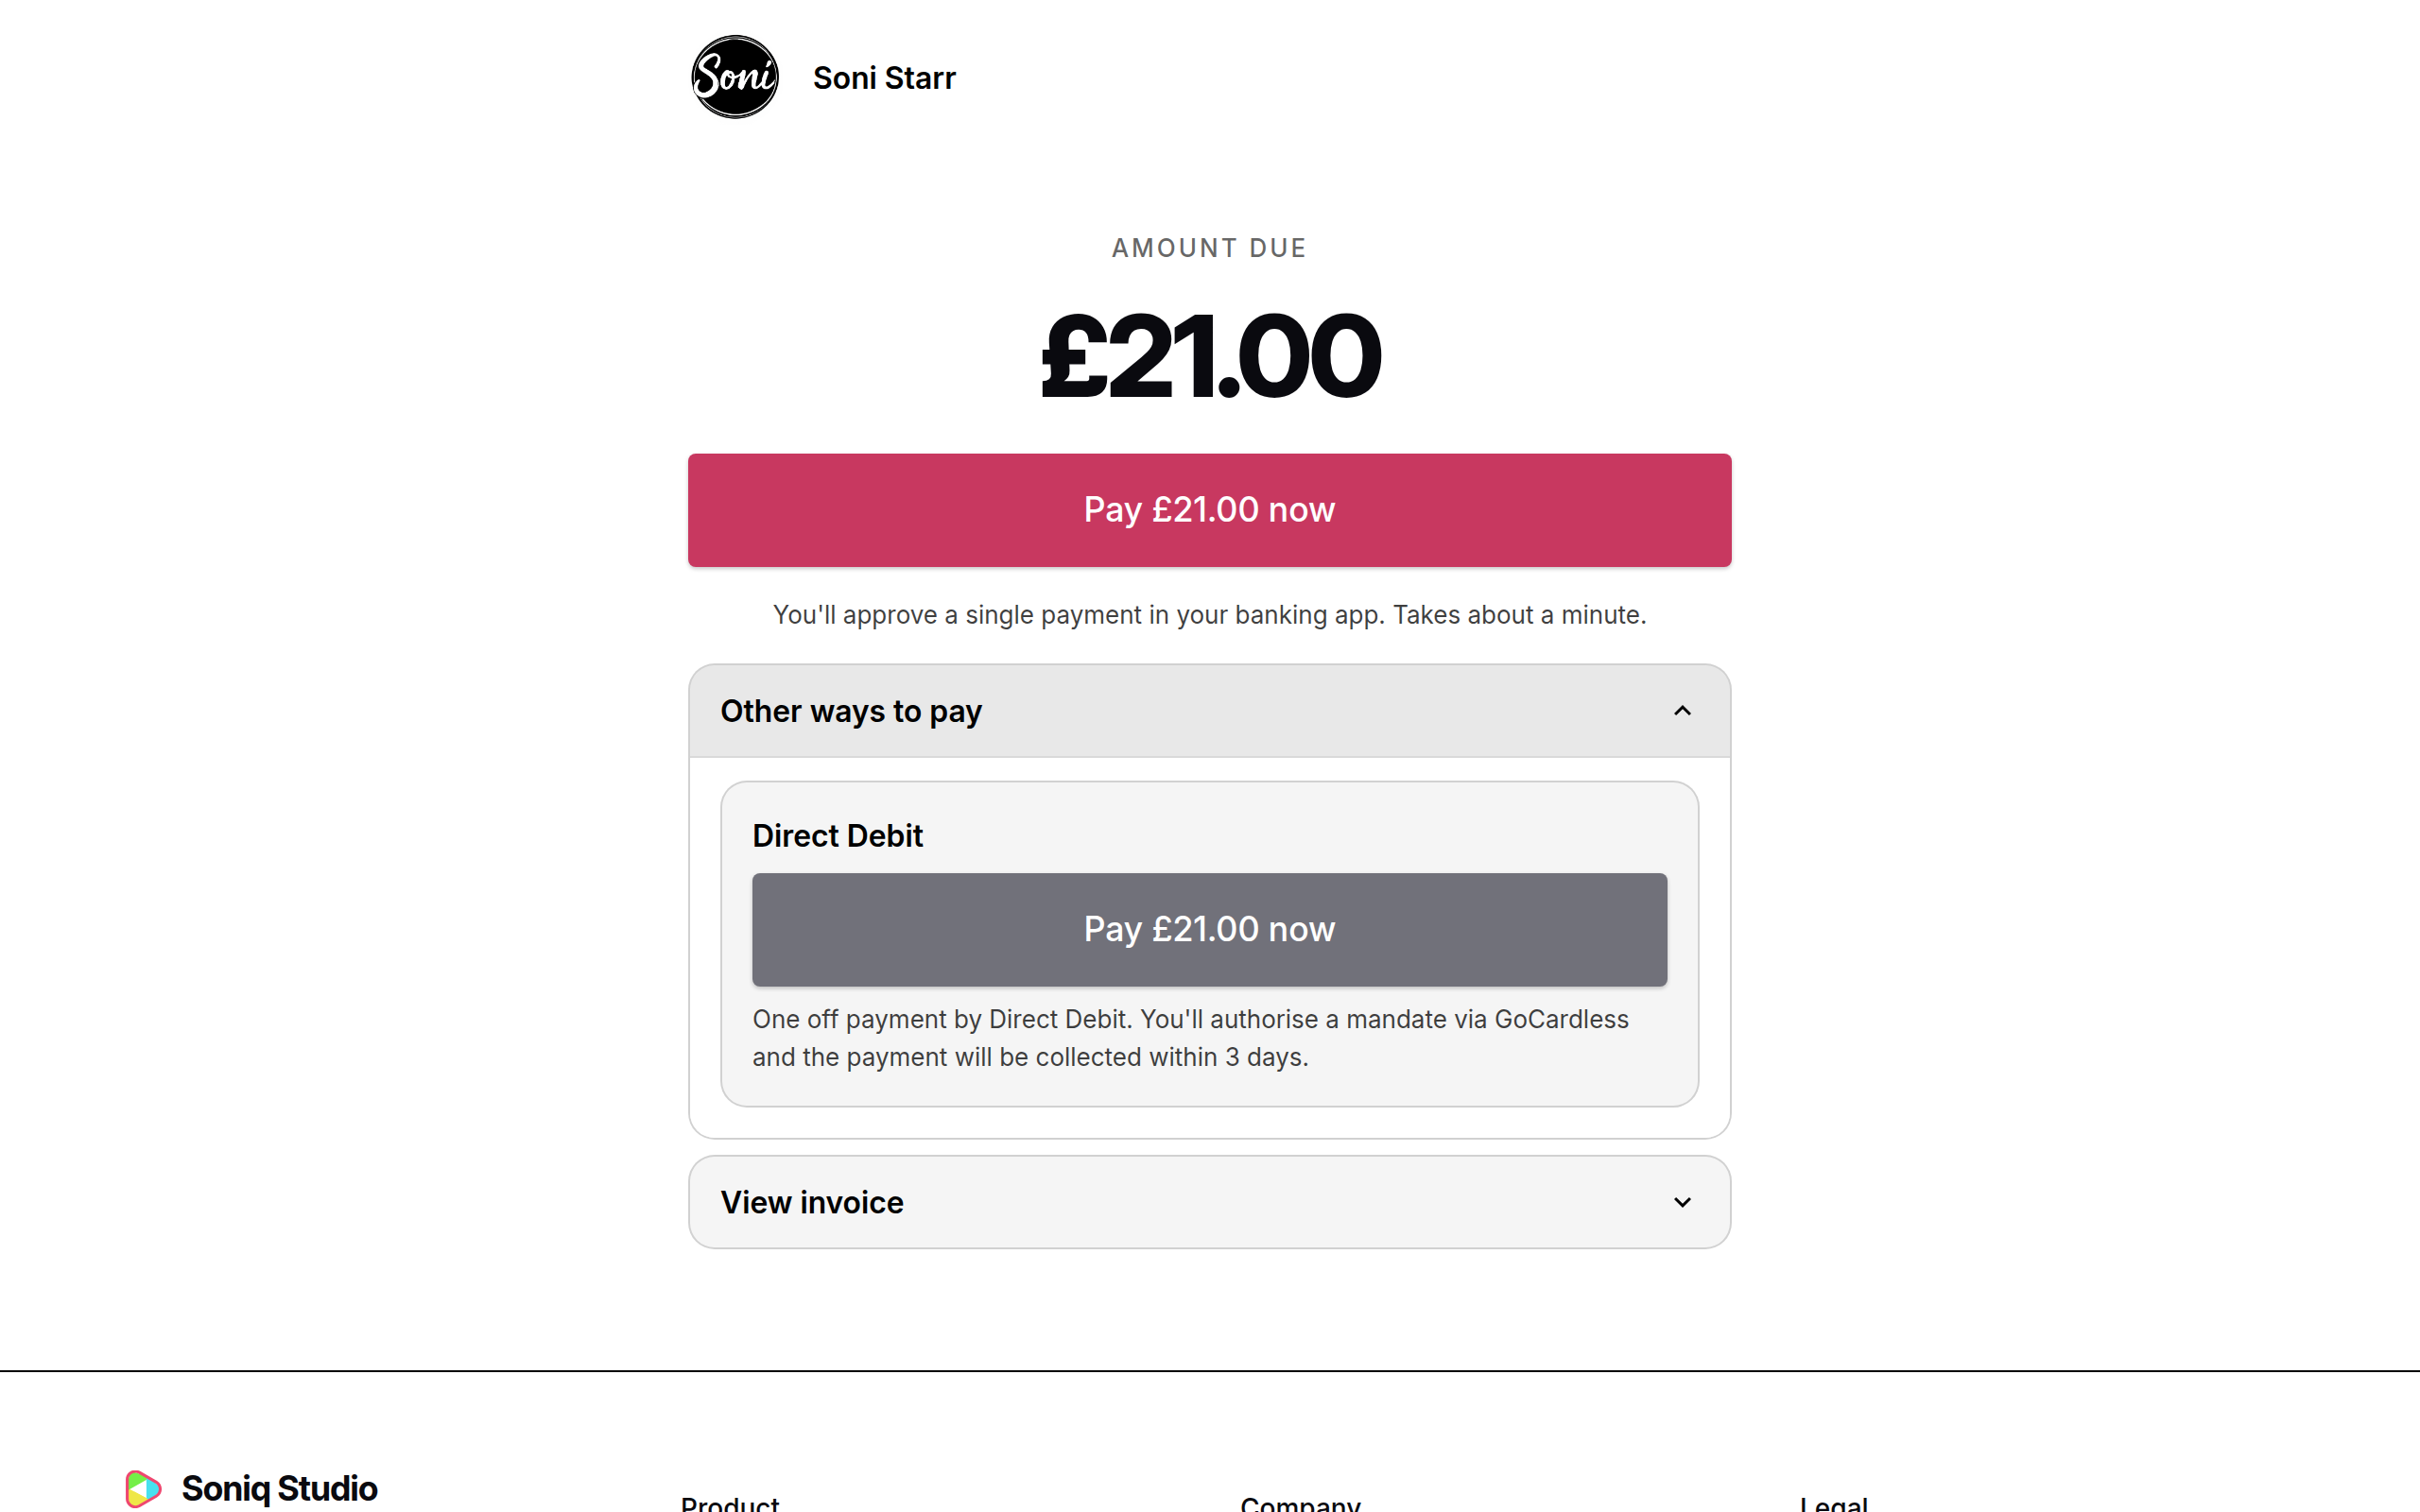
What happens next takes place on GoCardless’s pages:
- With Pay by Bank, the student approves one payment in their banking app. This takes about a minute.
- With Direct Debit, the student enters their bank details once and sets up a Direct Debit mandate. A Direct Debit mandate is the student’s permission for you to collect money from their bank account. GoCardless then collects the payment within a few working days. The student gets an email that says “Your Direct Debit is set up”.
Step 10: Watch the money arrive
Open the invoice. The Payments card shows the payment and its status:
- Collecting: GoCardless is collecting the money.
- Collected: the money is collected. The invoice status changes to Paid and it moves to Recently Paid.
- Paid out: GoCardless has sent the money to your bank account.
The Activity card records each step too.
To see each payout, go to Account, select Integrations, and open GoCardless. The Settlements card lists every payout, with the GoCardless fee and the Soniq platform fee. To see what each fee covers, read Subscription plans and fees.
That is it. Soni’s first lesson is paid for, and the money is in the bank.
What next
- How to send an invoice covers invoicing month by month.
- How to handle a failed or missed payment helps when a payment does not arrive.
- Payment and mandate statuses lists every status you may see.
- How the billing model works, and why explains why Soniq Studio collects money this way.