
You can share your timetable in two ways:
- Download a document of the whole timetable, and print it or send it.
- Give each student or parent a link to their own lessons, through the contact portal.
Check who is on the timetable
- Select Timetable in the sidebar.
- Go to the week you want to share.
- Look at the Visible Contacts panel on the right. It lists each student in that week, with the number of lessons.
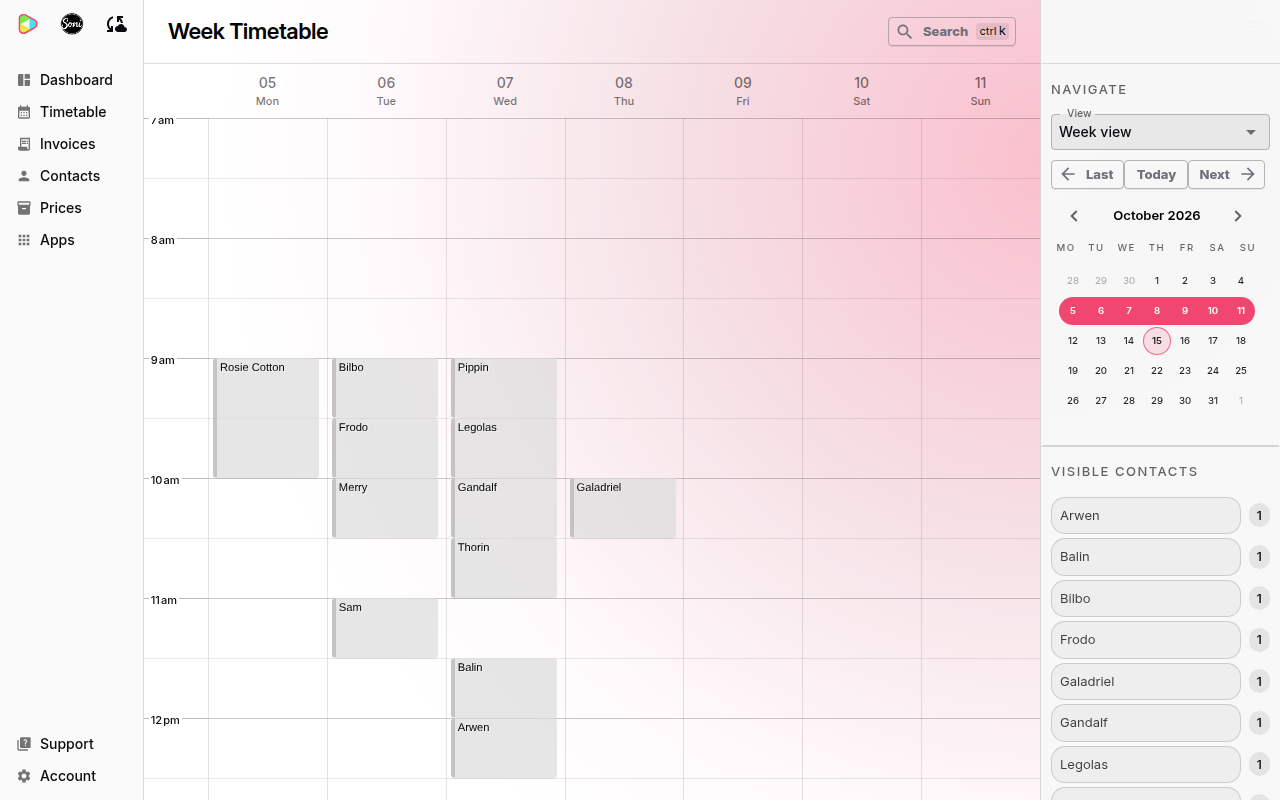
Download the timetable as a document
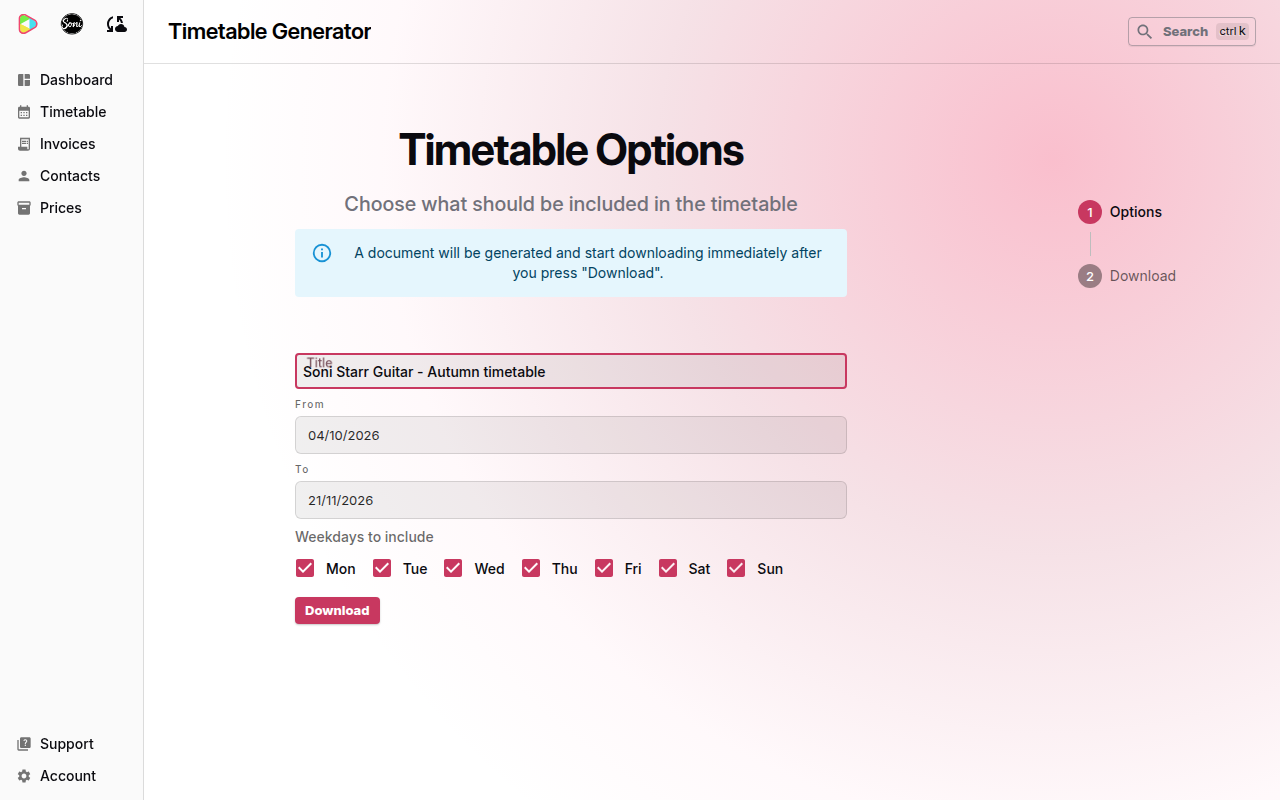
- On Timetable, select Timetable download in the Export and Share panel. You can also select it in the Actions panel on your dashboard.
- Enter a Title, for example “Autumn term timetable”.
- Choose the first date in From and the last date in To.
- Untick any days you do not want in Weekdays to include.
- Select Download.
Soniq Studio downloads a Word document called timetable.docx. It has one table for each day. Each table shows the lesson times down the side and the dates across the top, with the student’s name in each lesson.
Print the document, or attach it to an email.
The document lists each student’s name. Check that every family is happy to share their name before you send the whole timetable to a group.
Share each family’s own lessons
To show one family only their own lessons, send them a contact portal link. The portal shows their lessons and invoices, and nobody else’s.
See Share lessons through the contact portal and How to see what your students see in the portal.
Related
- To see your own timetable in Google Calendar, Apple Calendar or Outlook, see How to sync your timetable to your calendar.
- Why students get a portal, not an account.